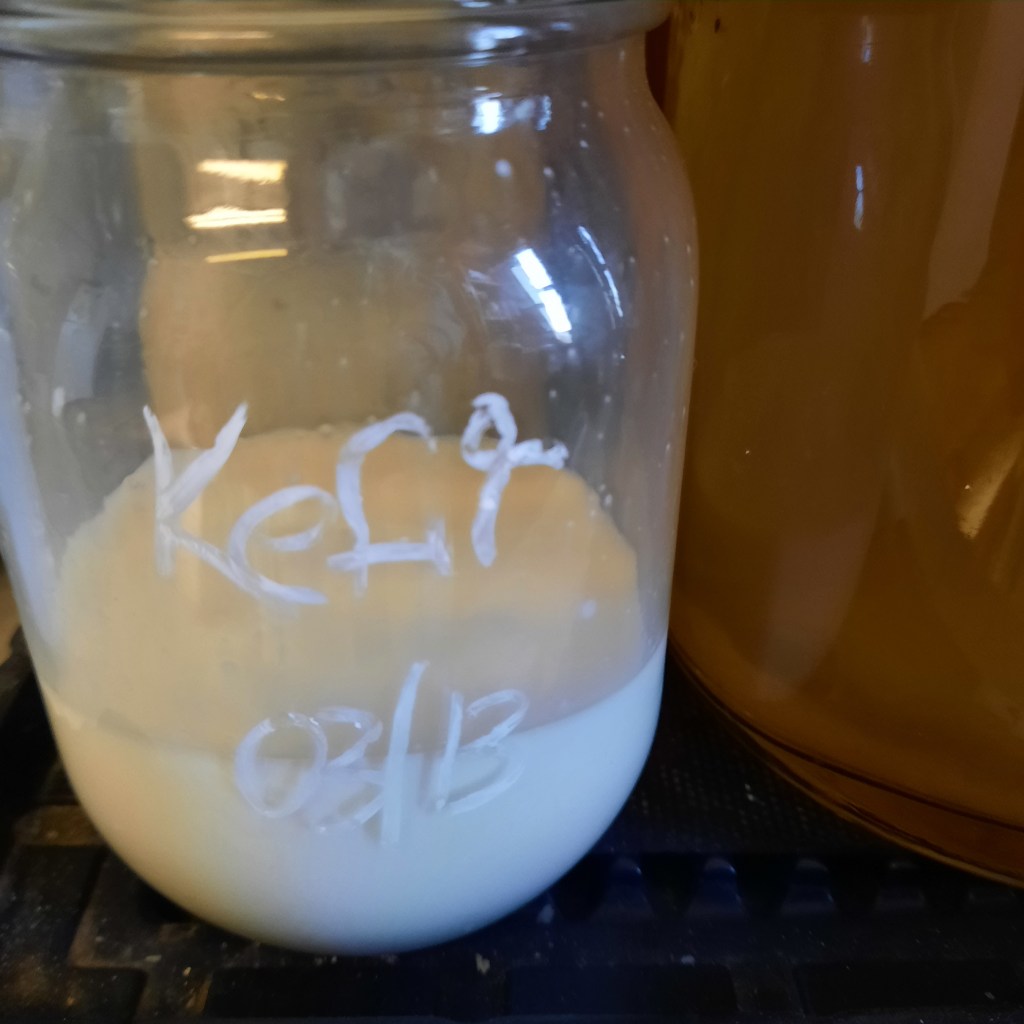
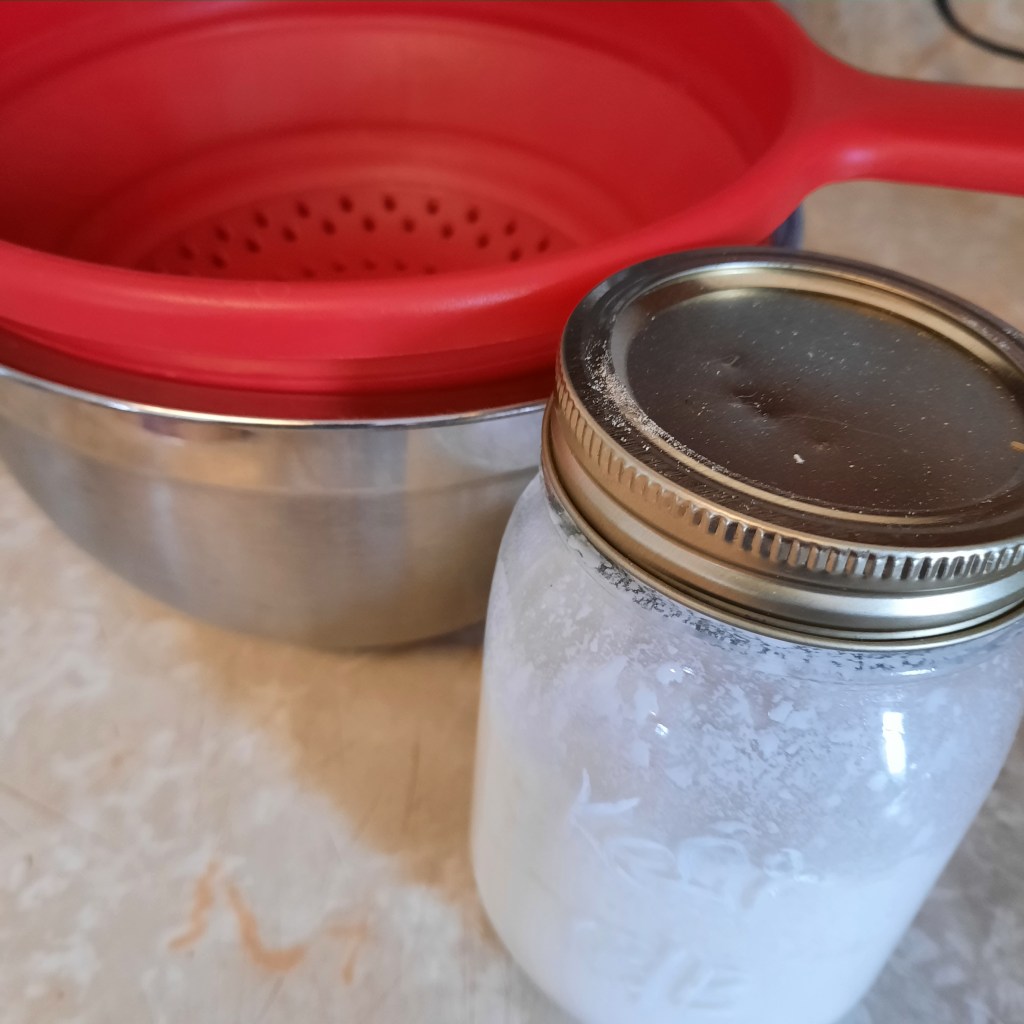
I restarted my milk kefir the last 2 days and now it’s ready to go. I had it in the fridge for a little while taking a nappie but now I want to be able to get it brewed so we can enjoy it again.
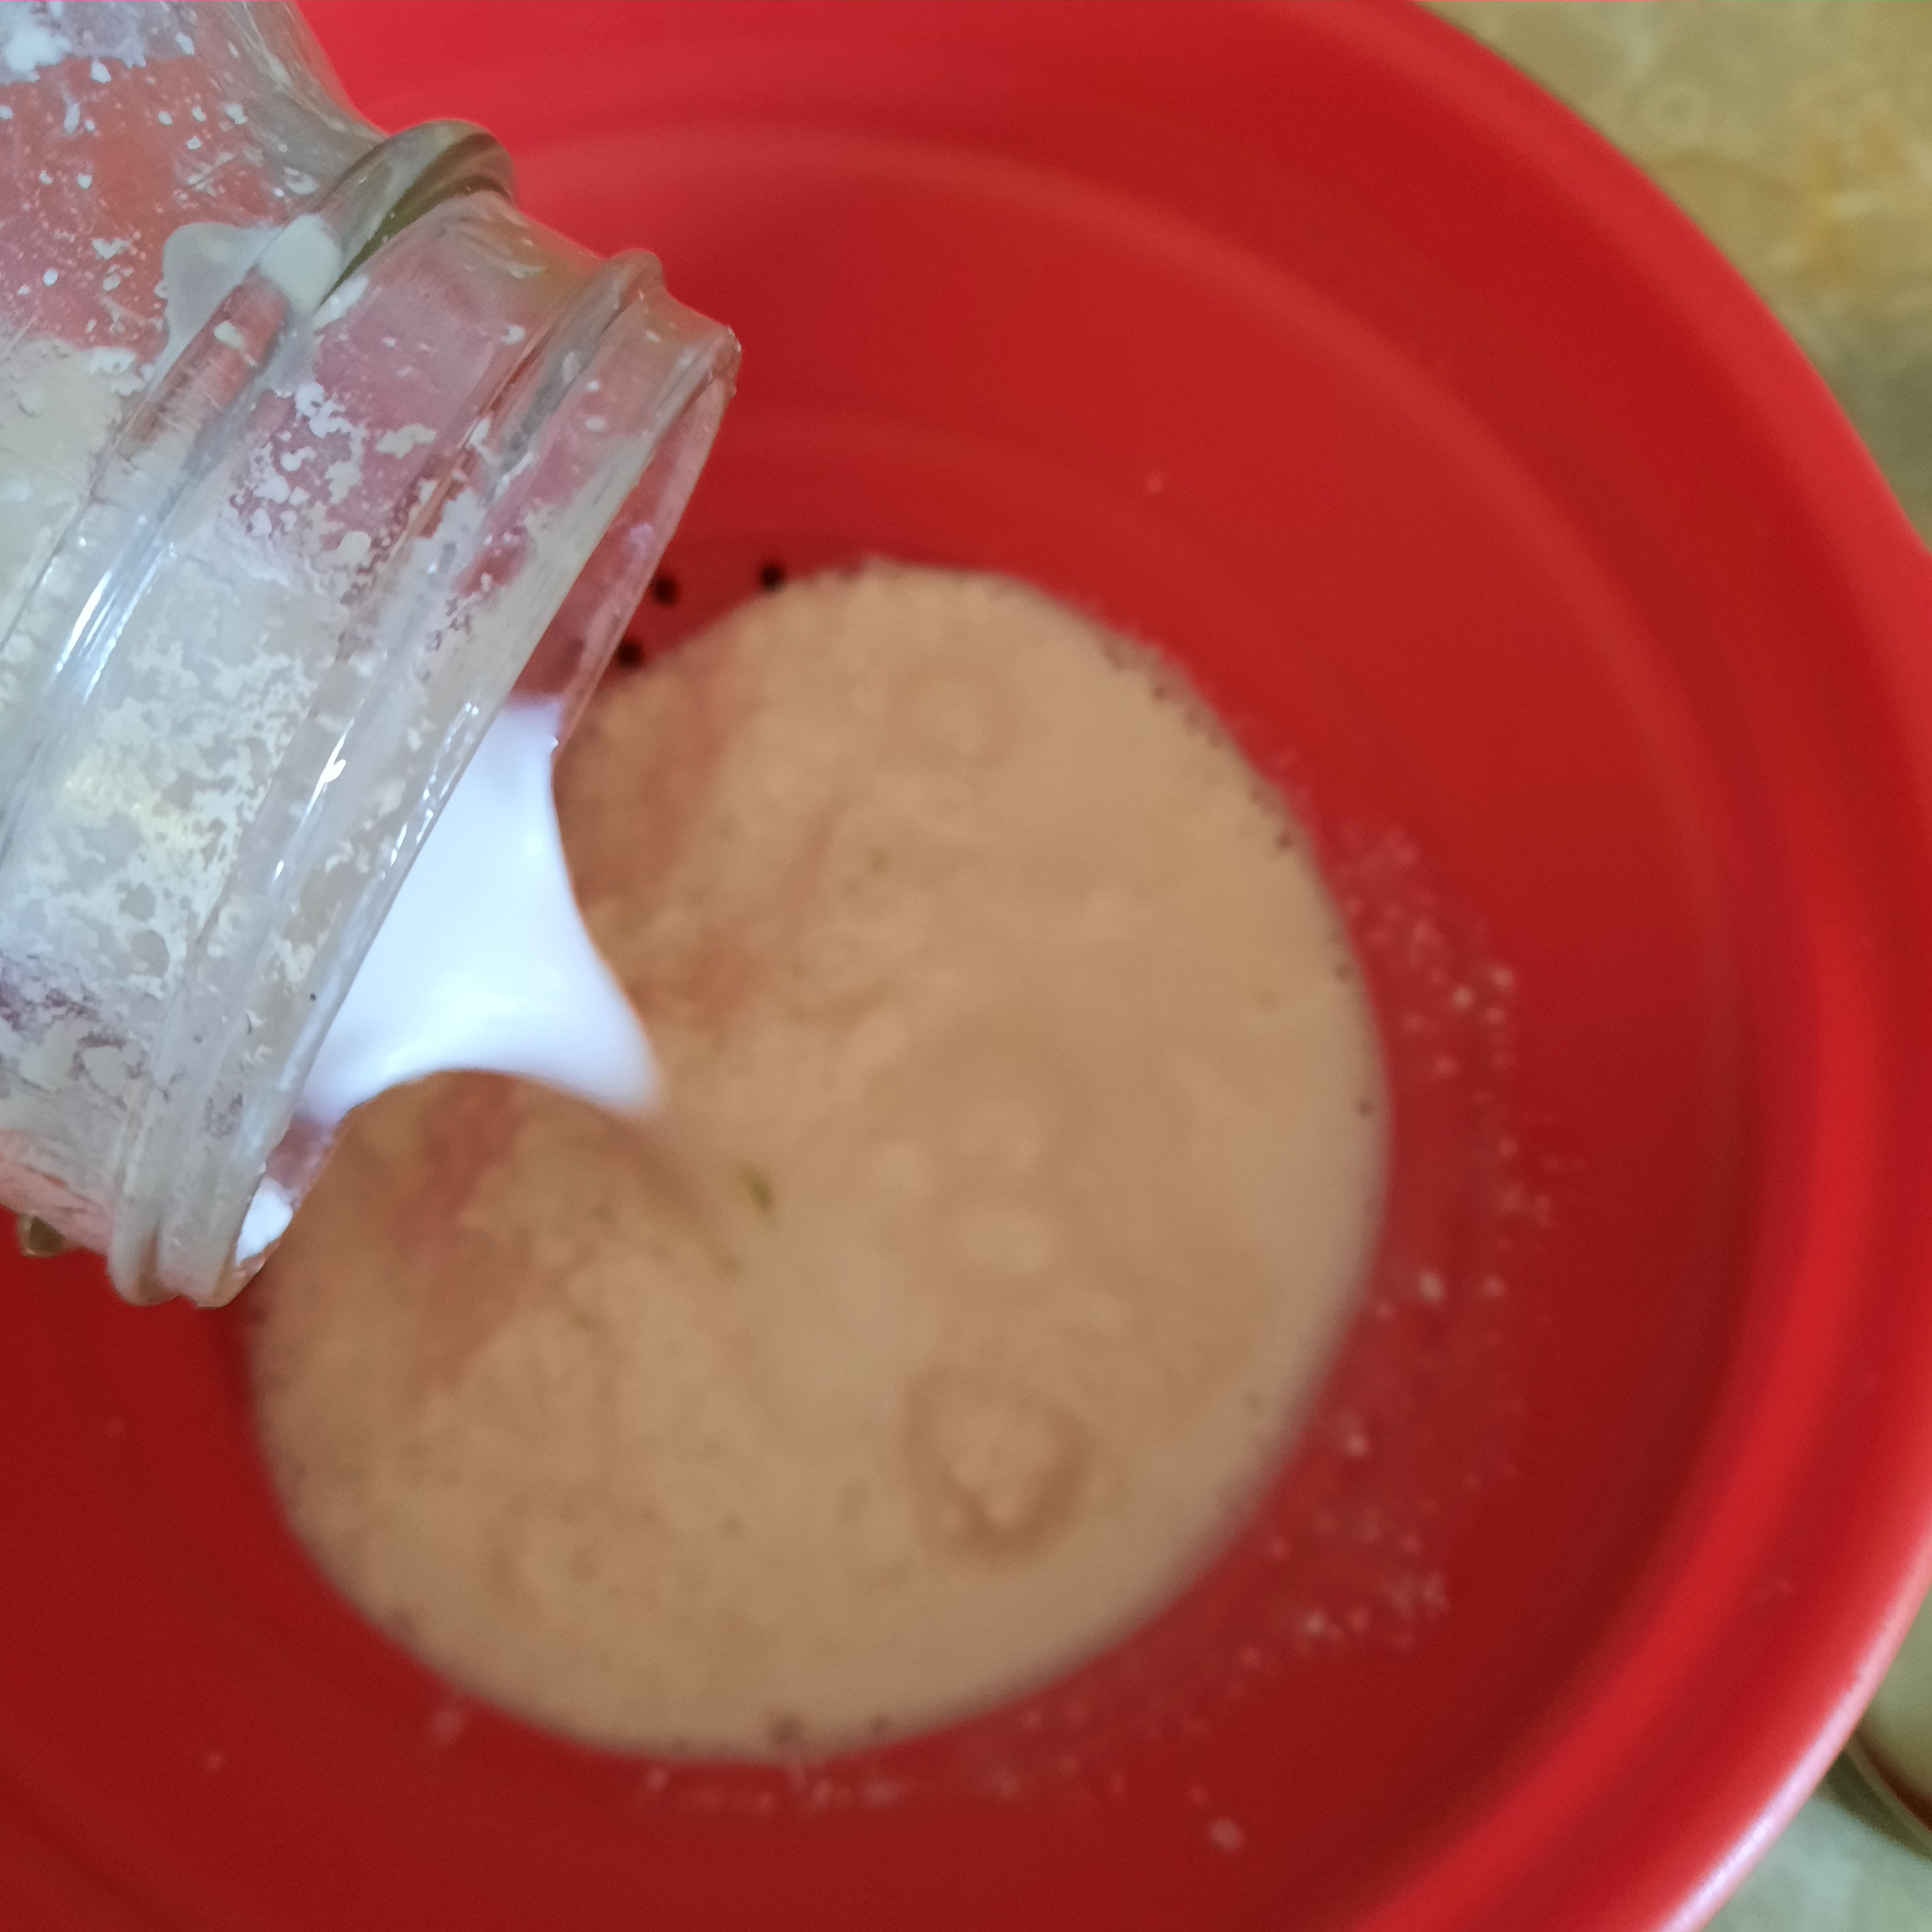
Milk kefir grains are pretty forgiving and you can replace the milk fresh and put it in the fridge. With the cold temps in the fridge it ferments much slower and easy to put to bed if you have too much of it around or need an extra day between ferments.
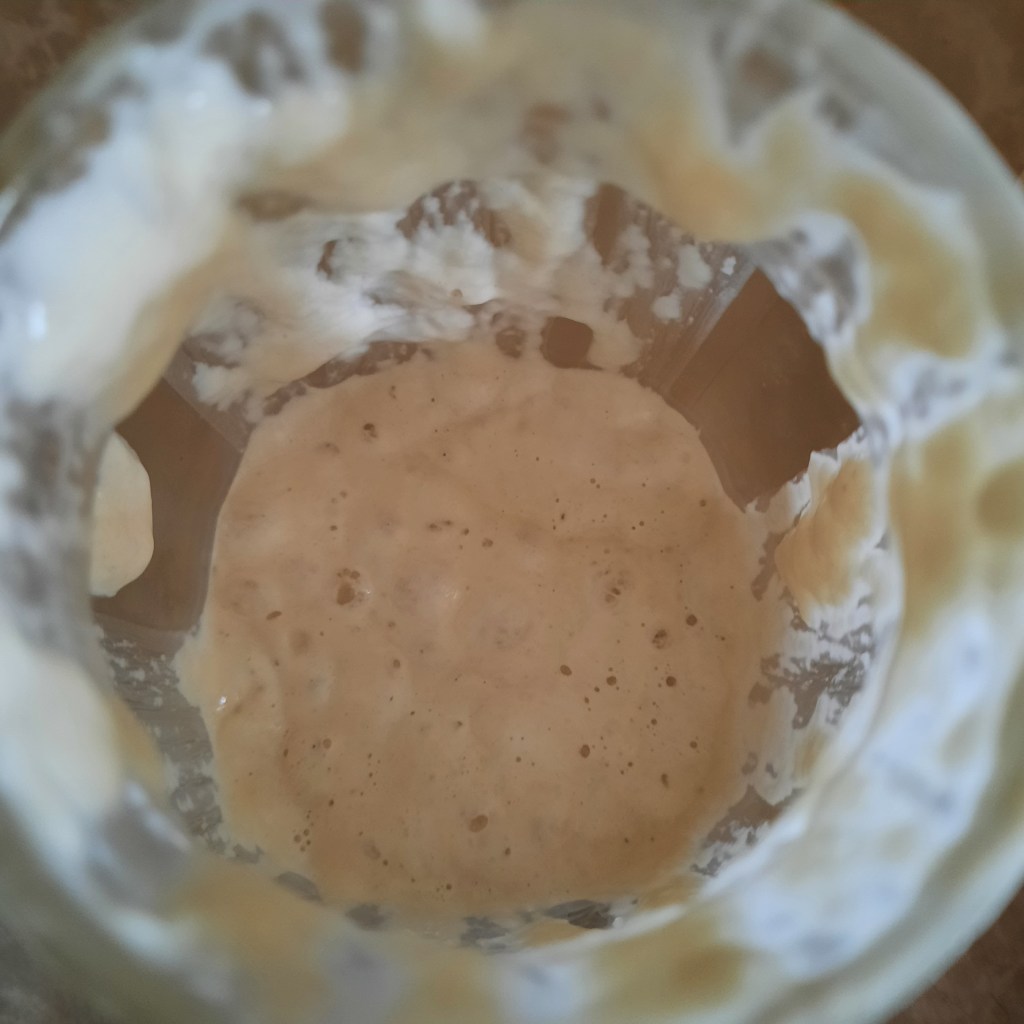
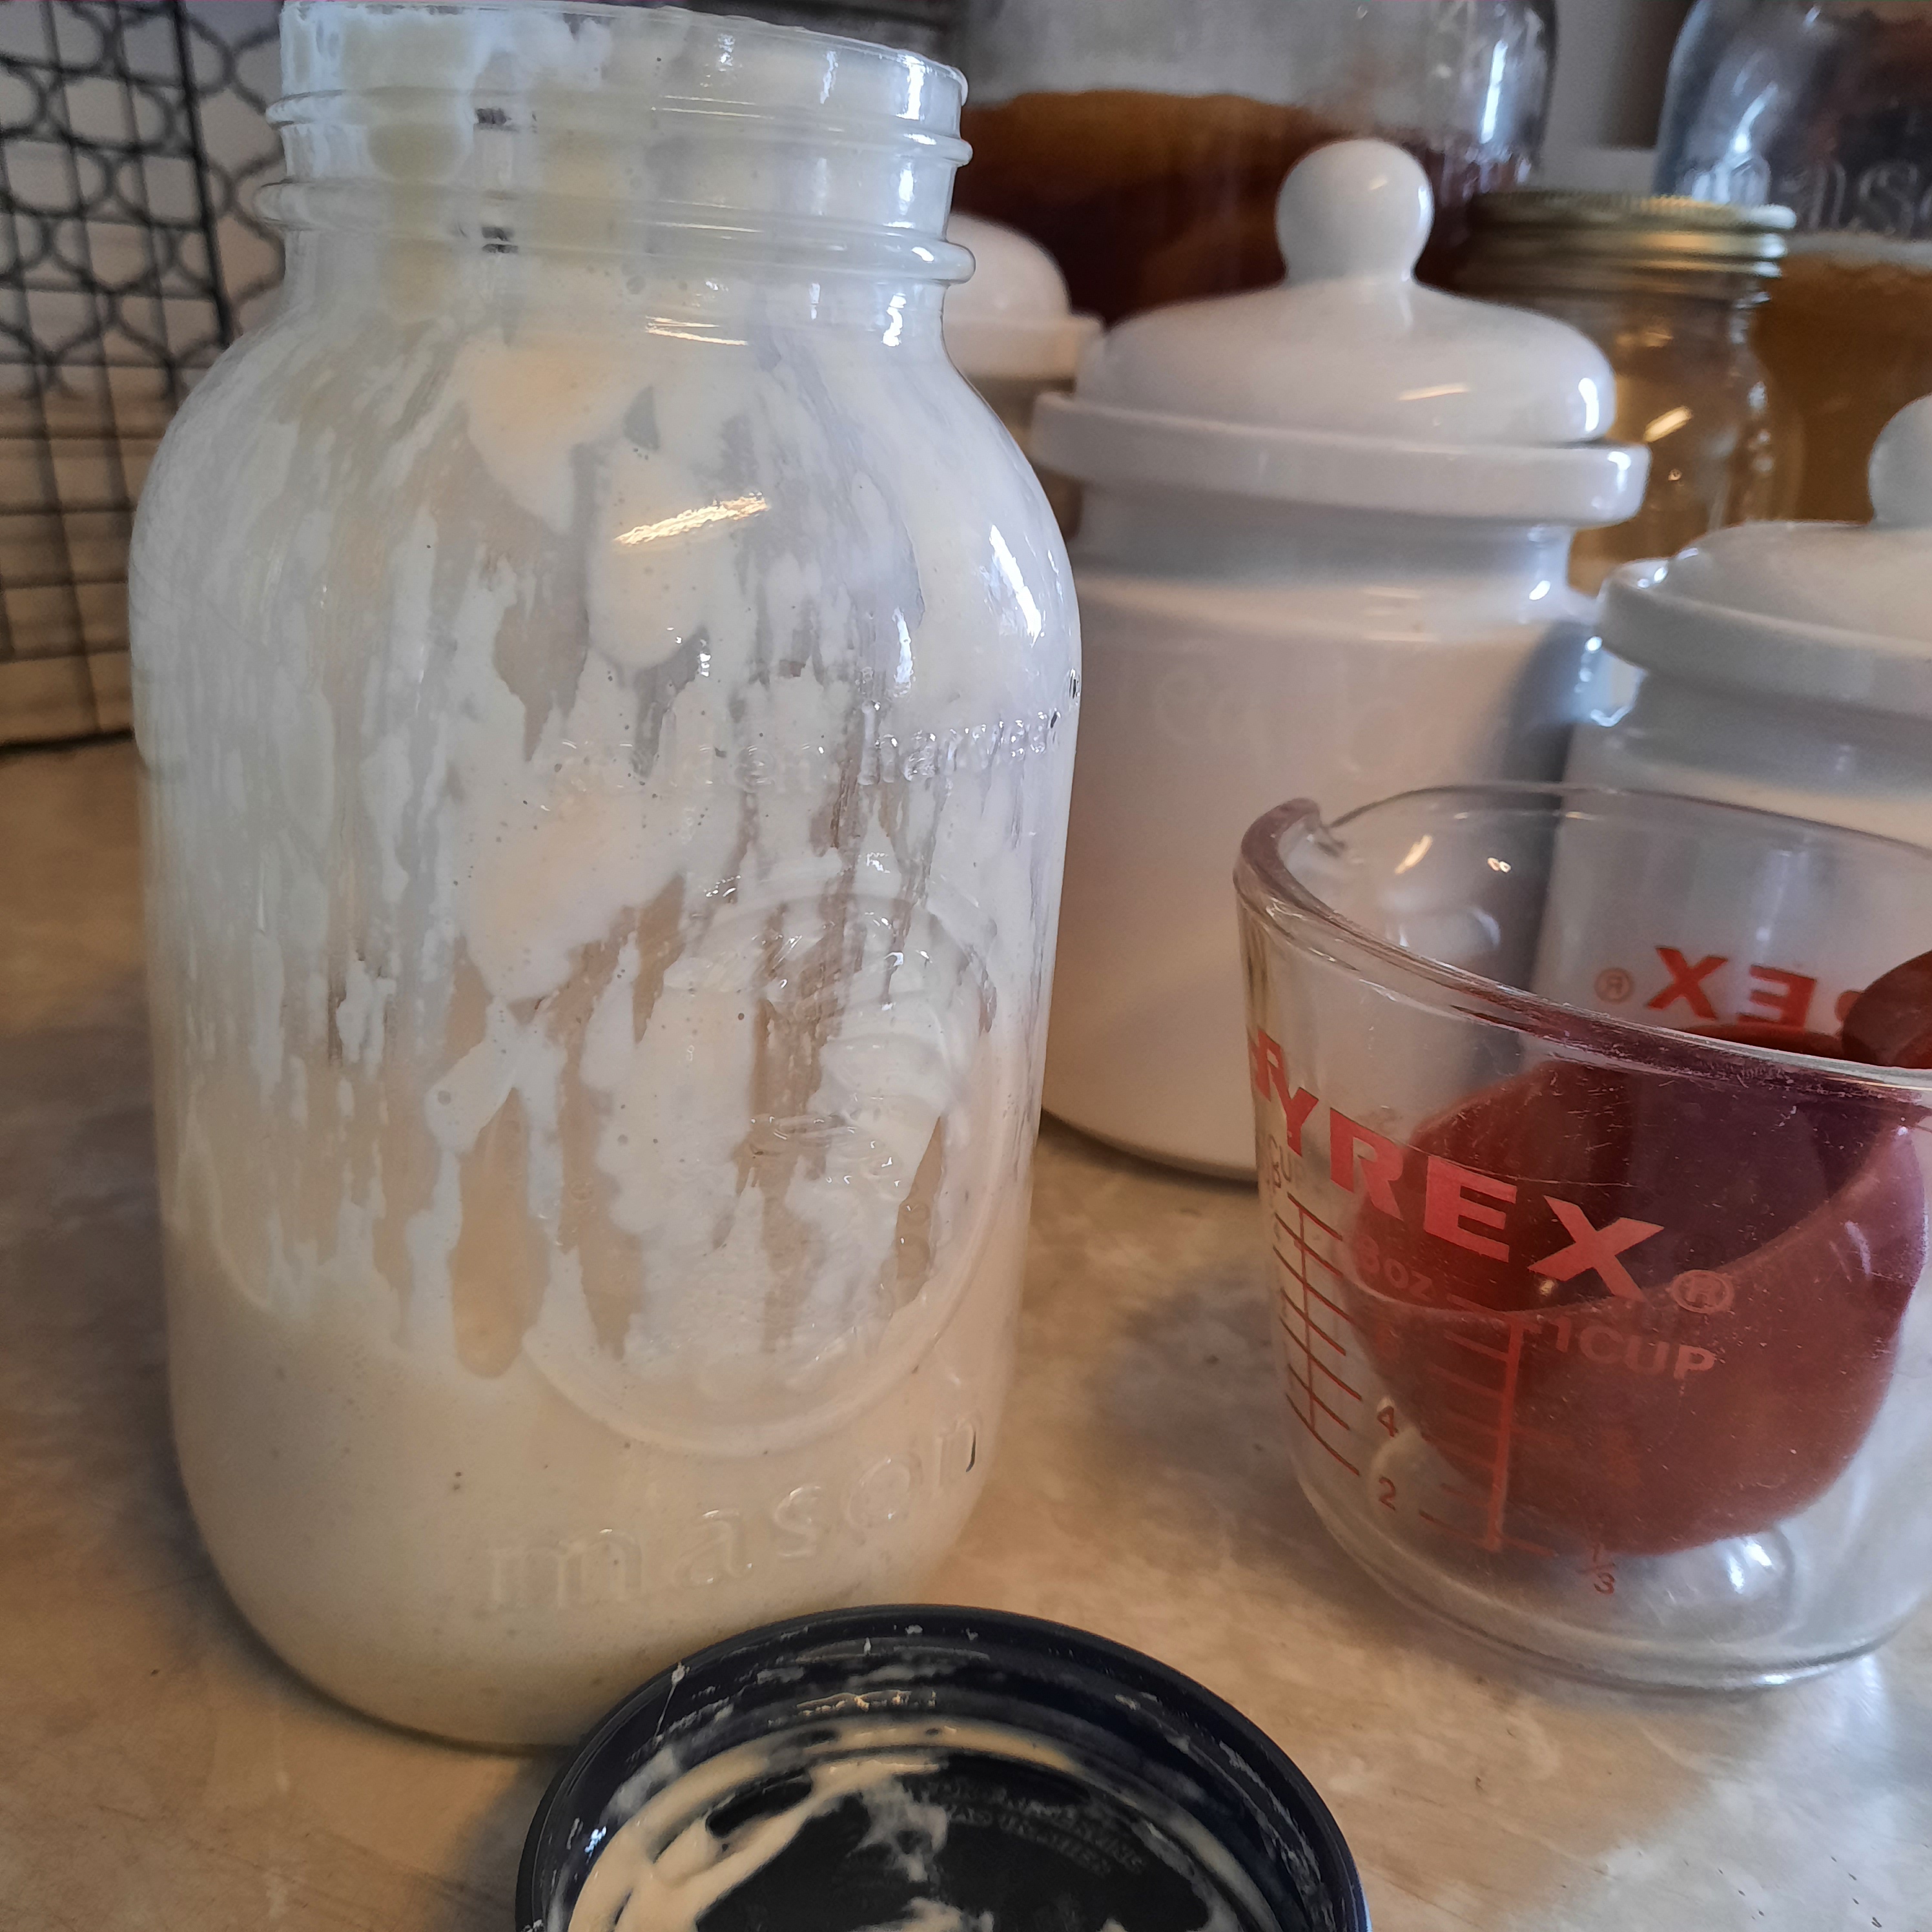
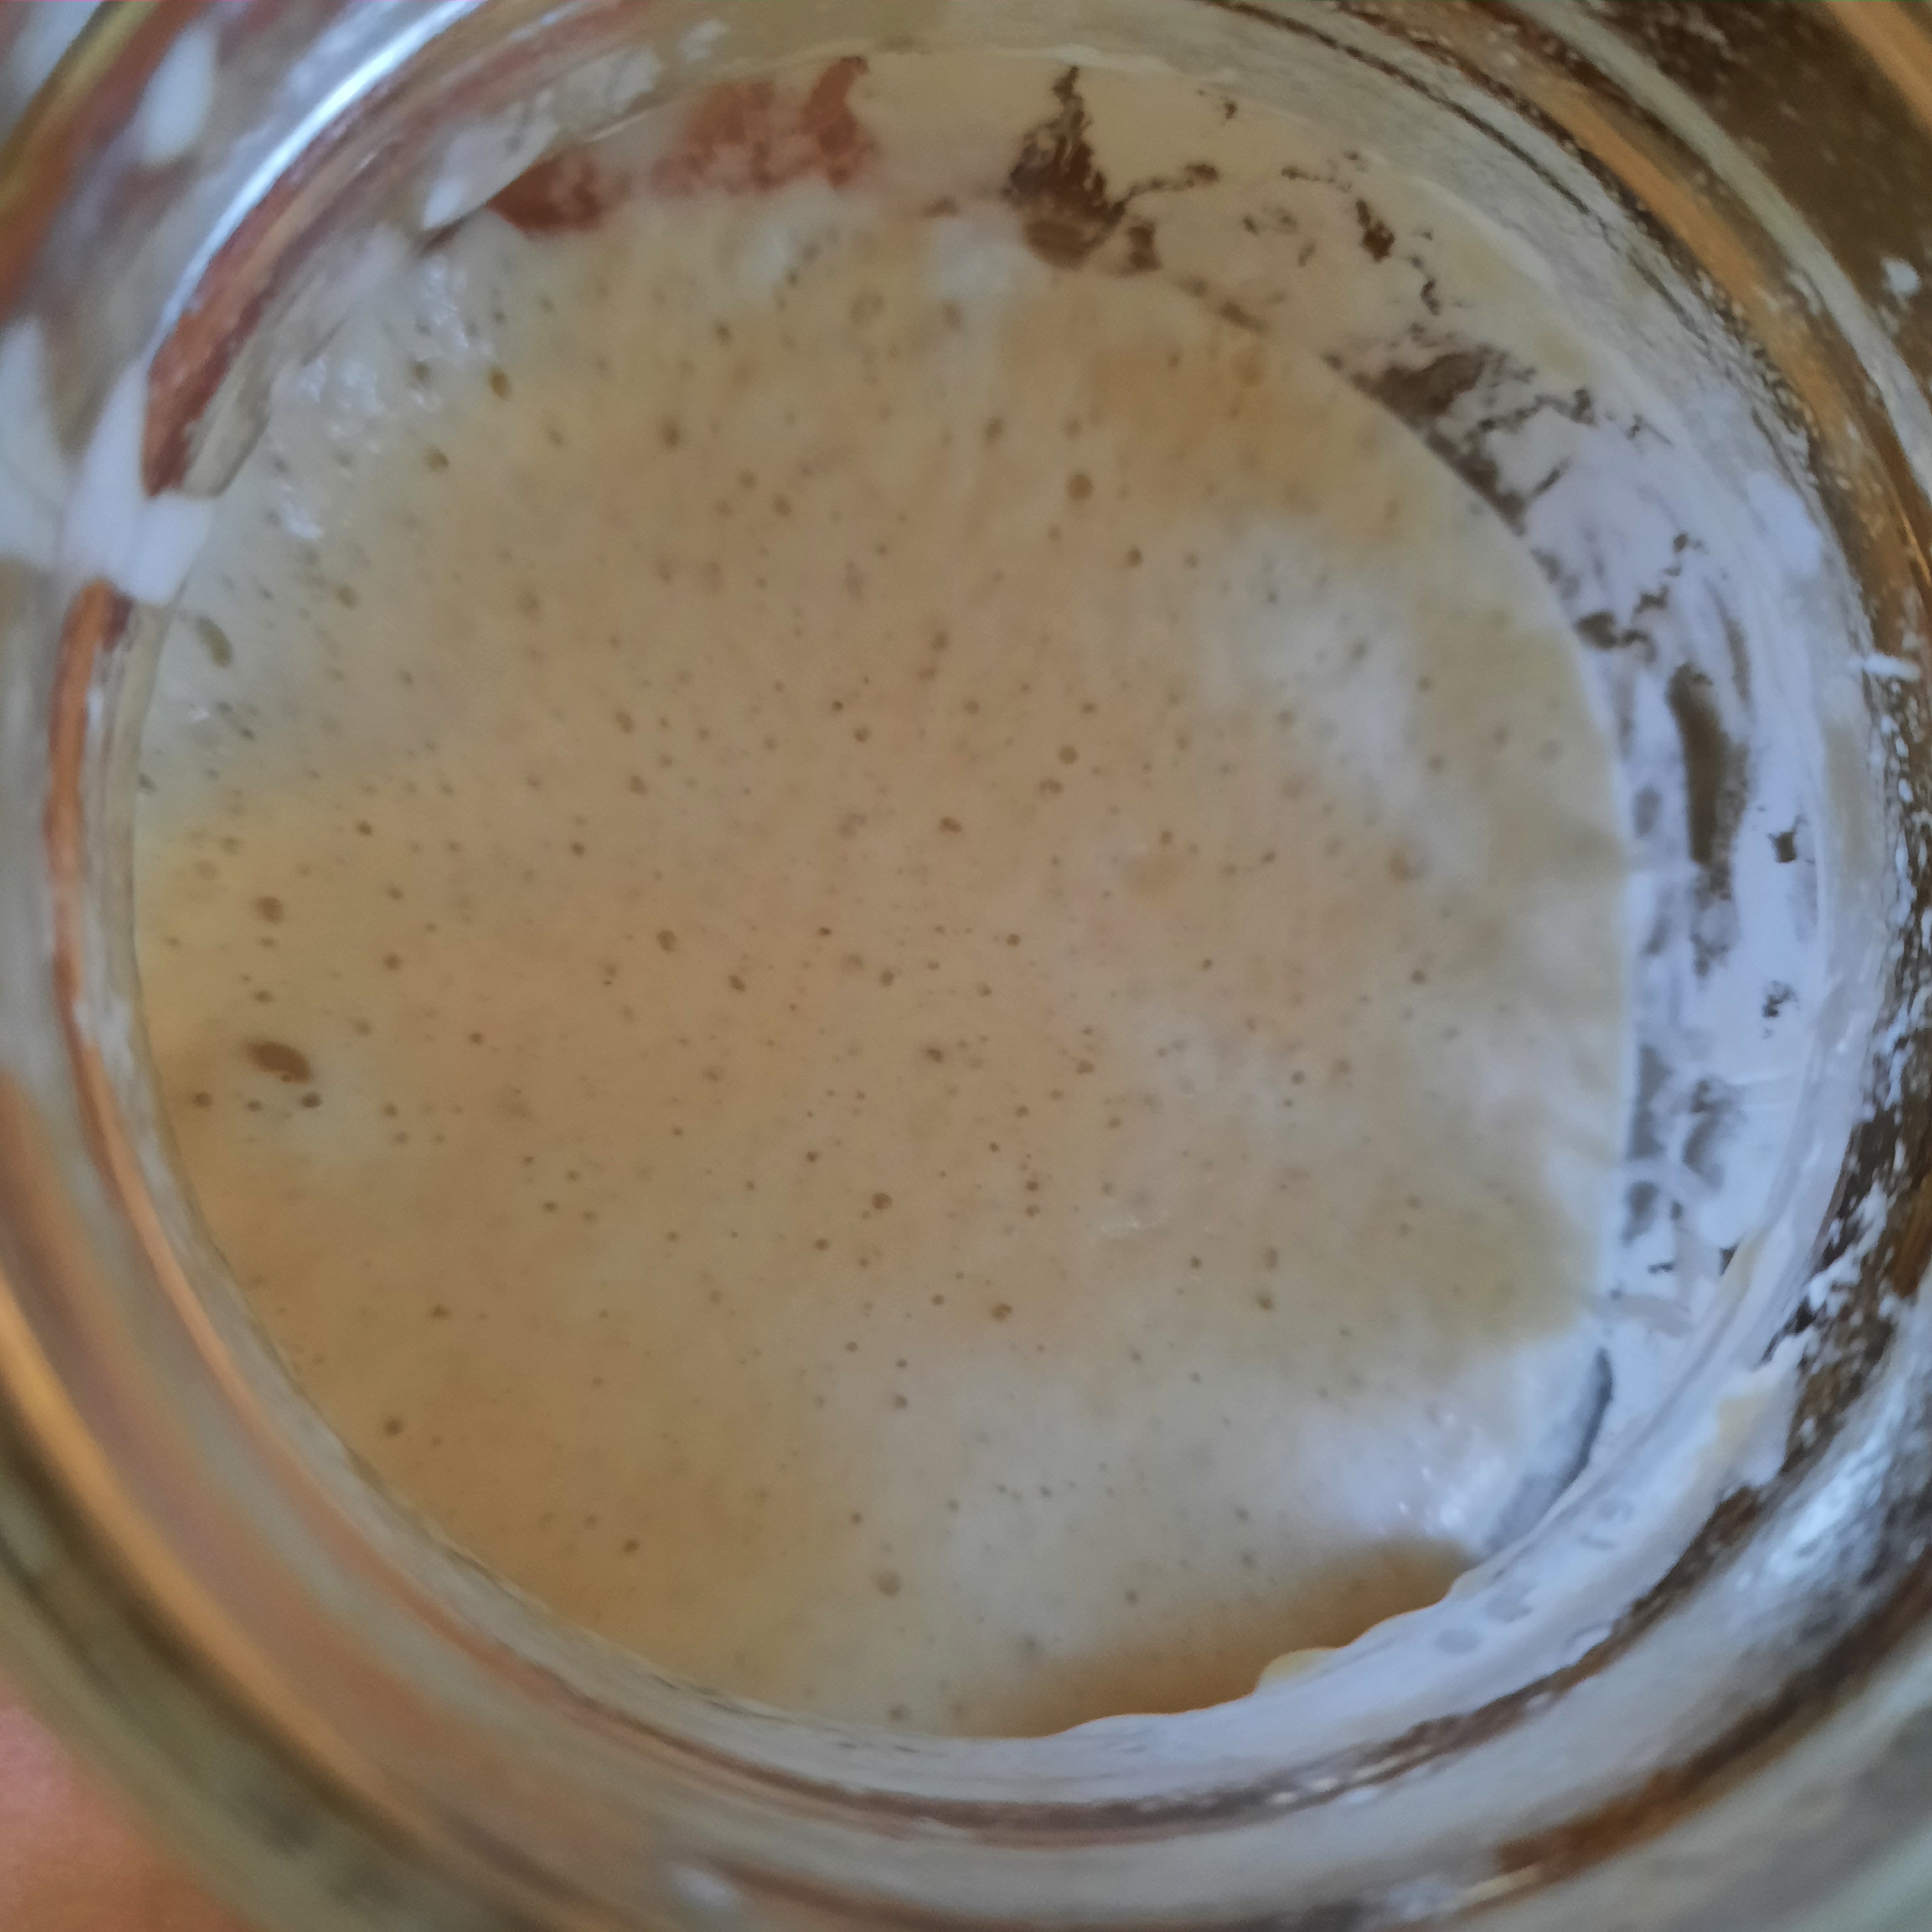
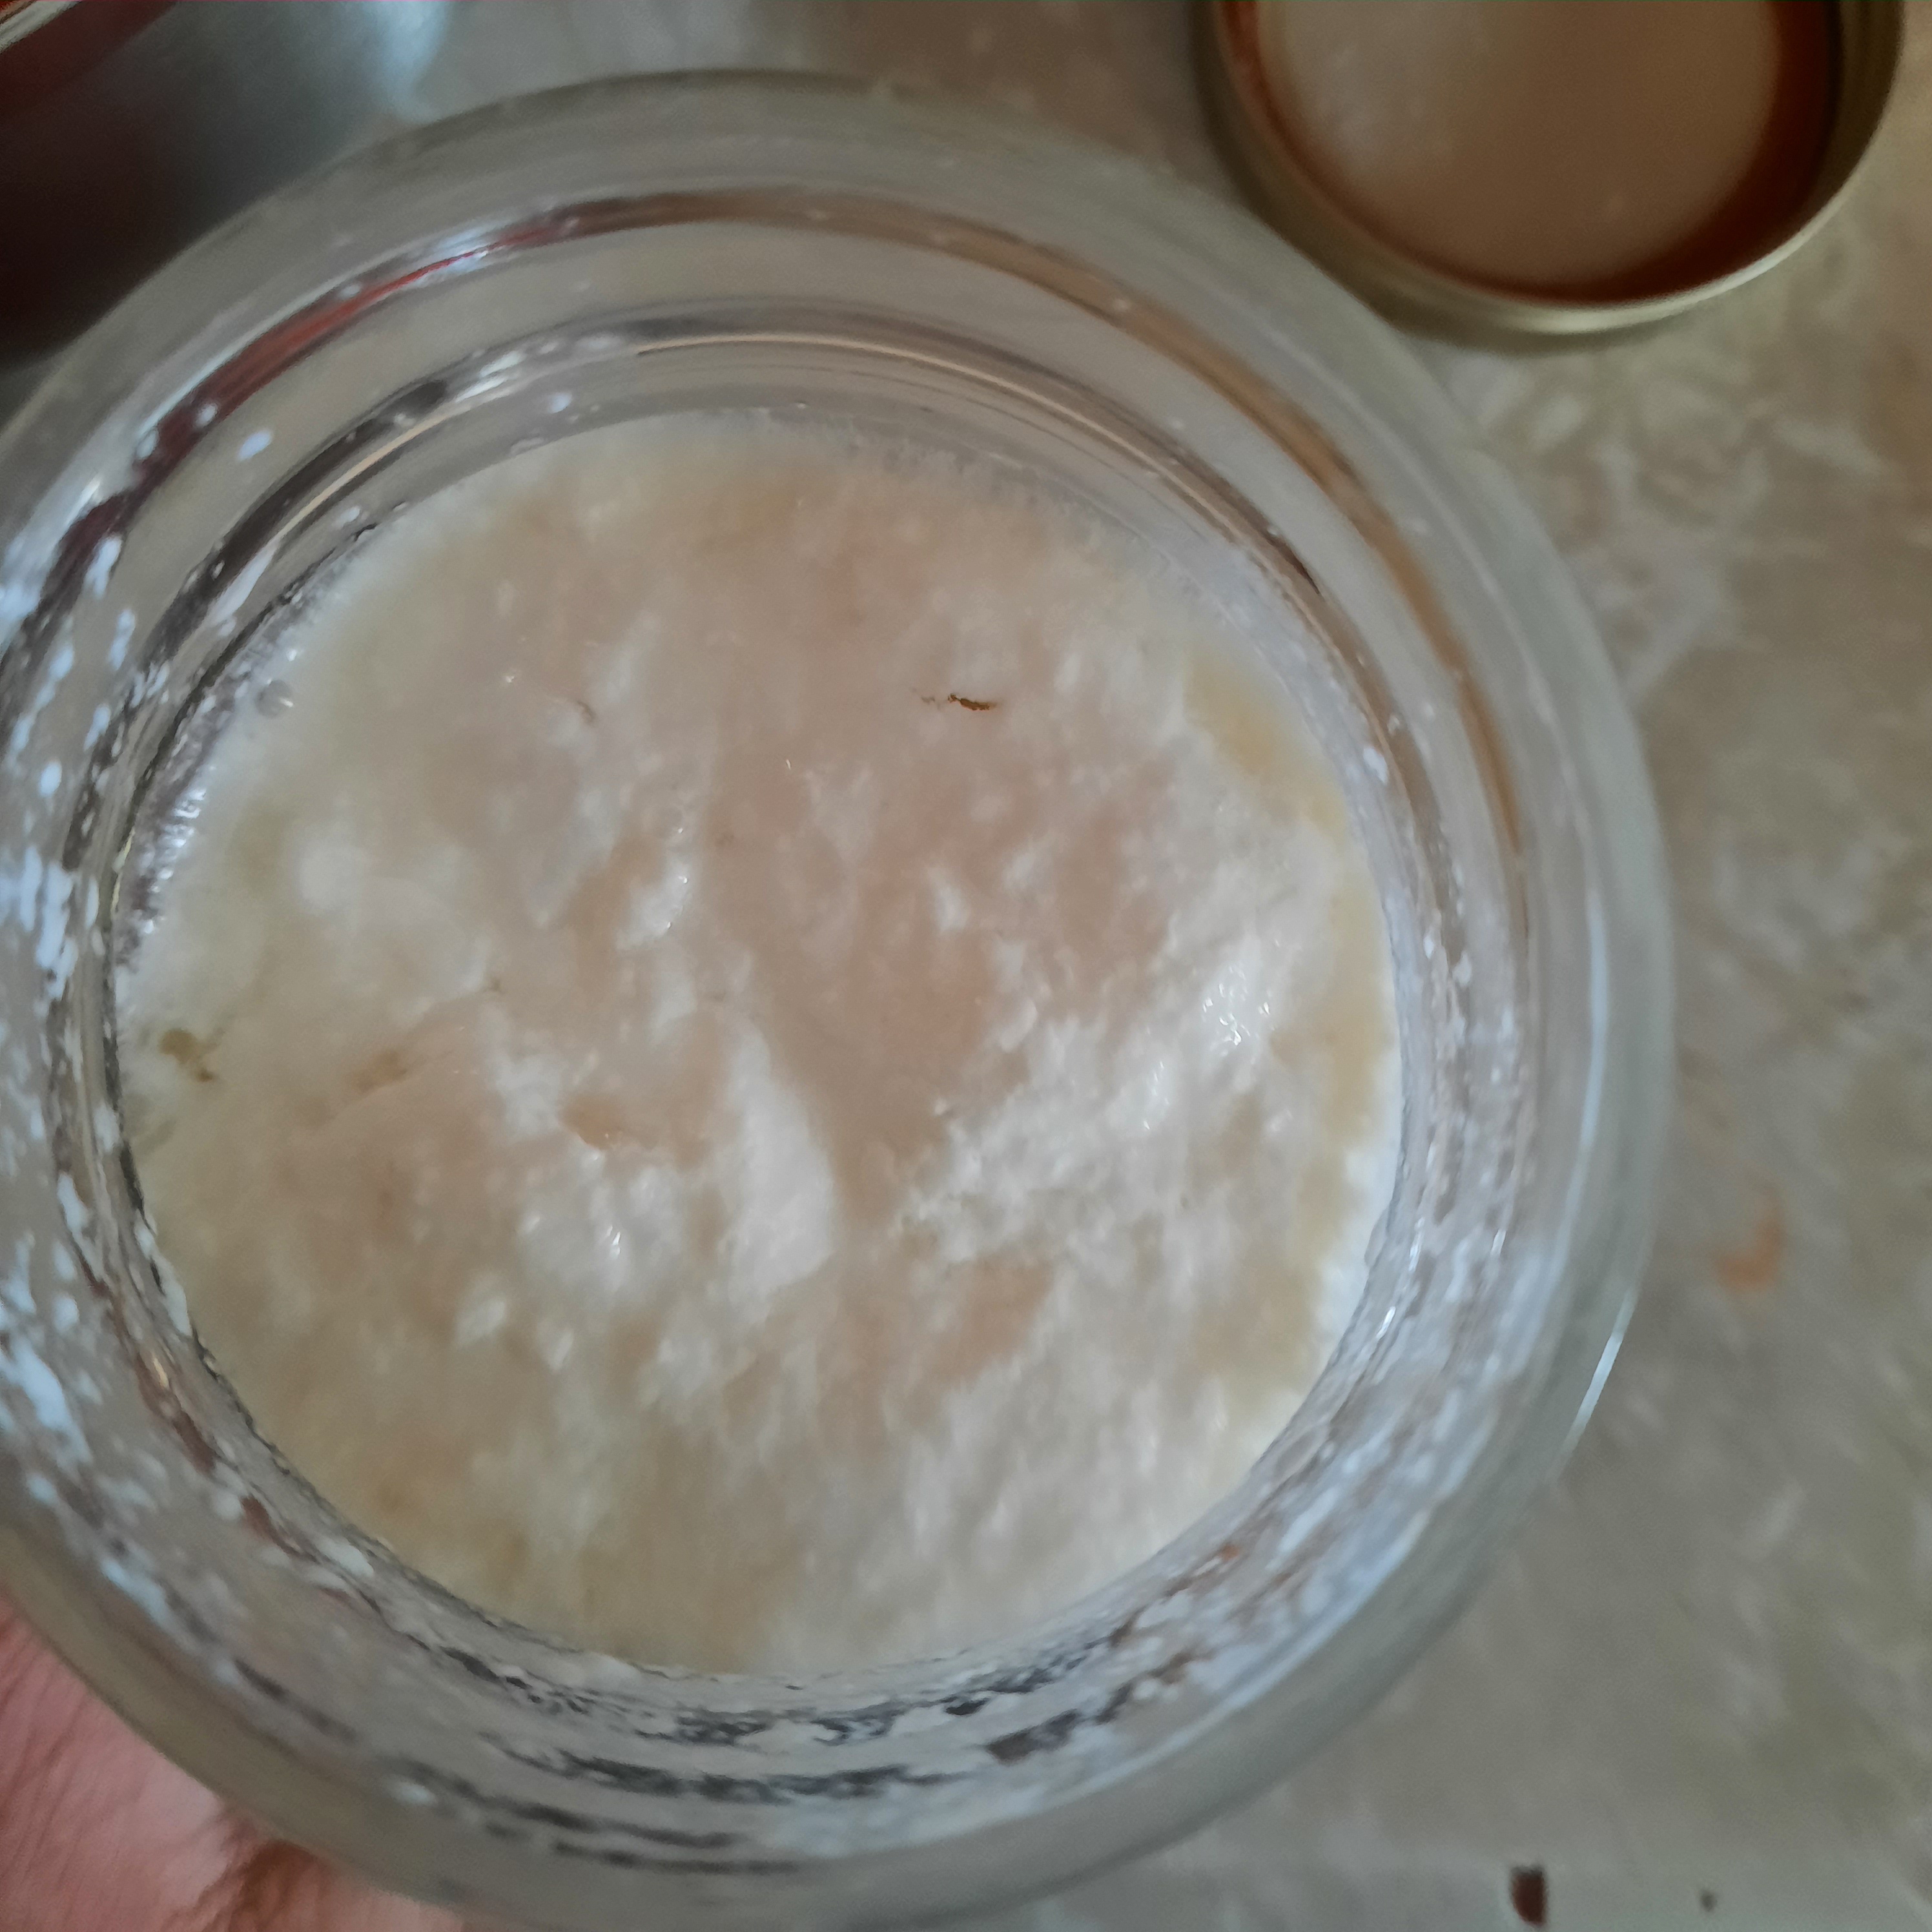
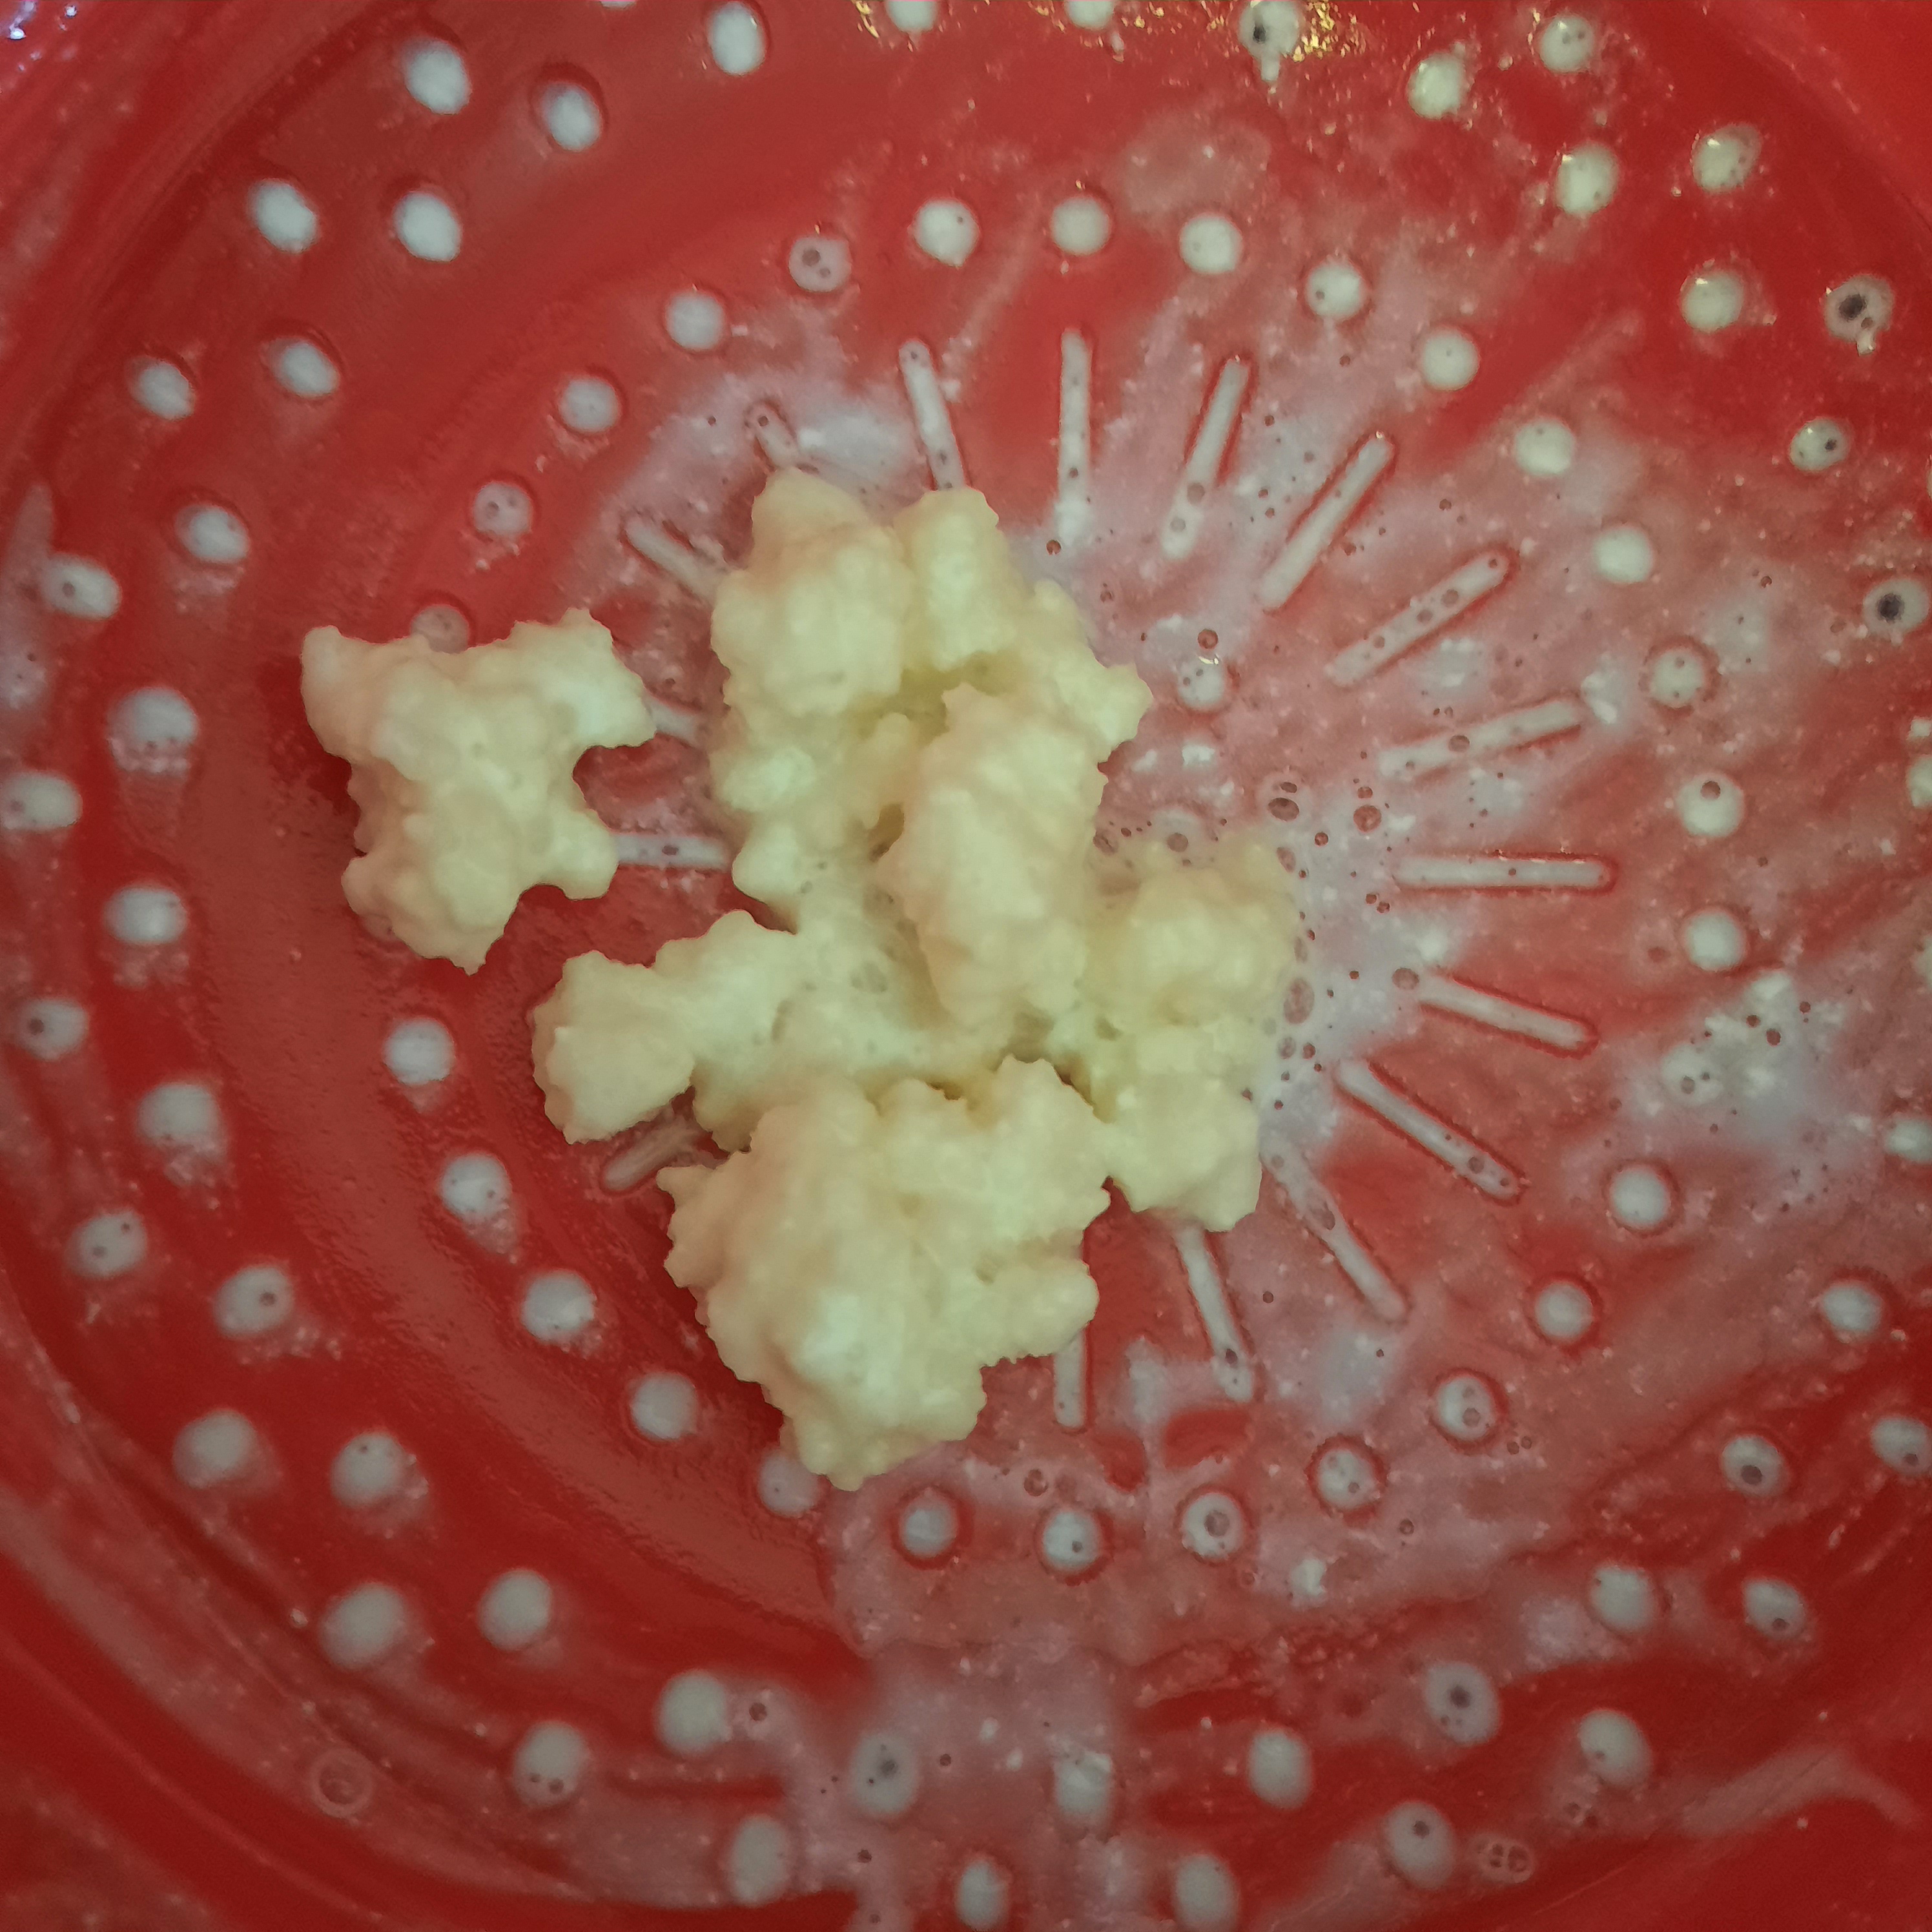
Wonder what milk kefir grains look like…… look below. This is what they look like when you strain them out from the fermented milk.
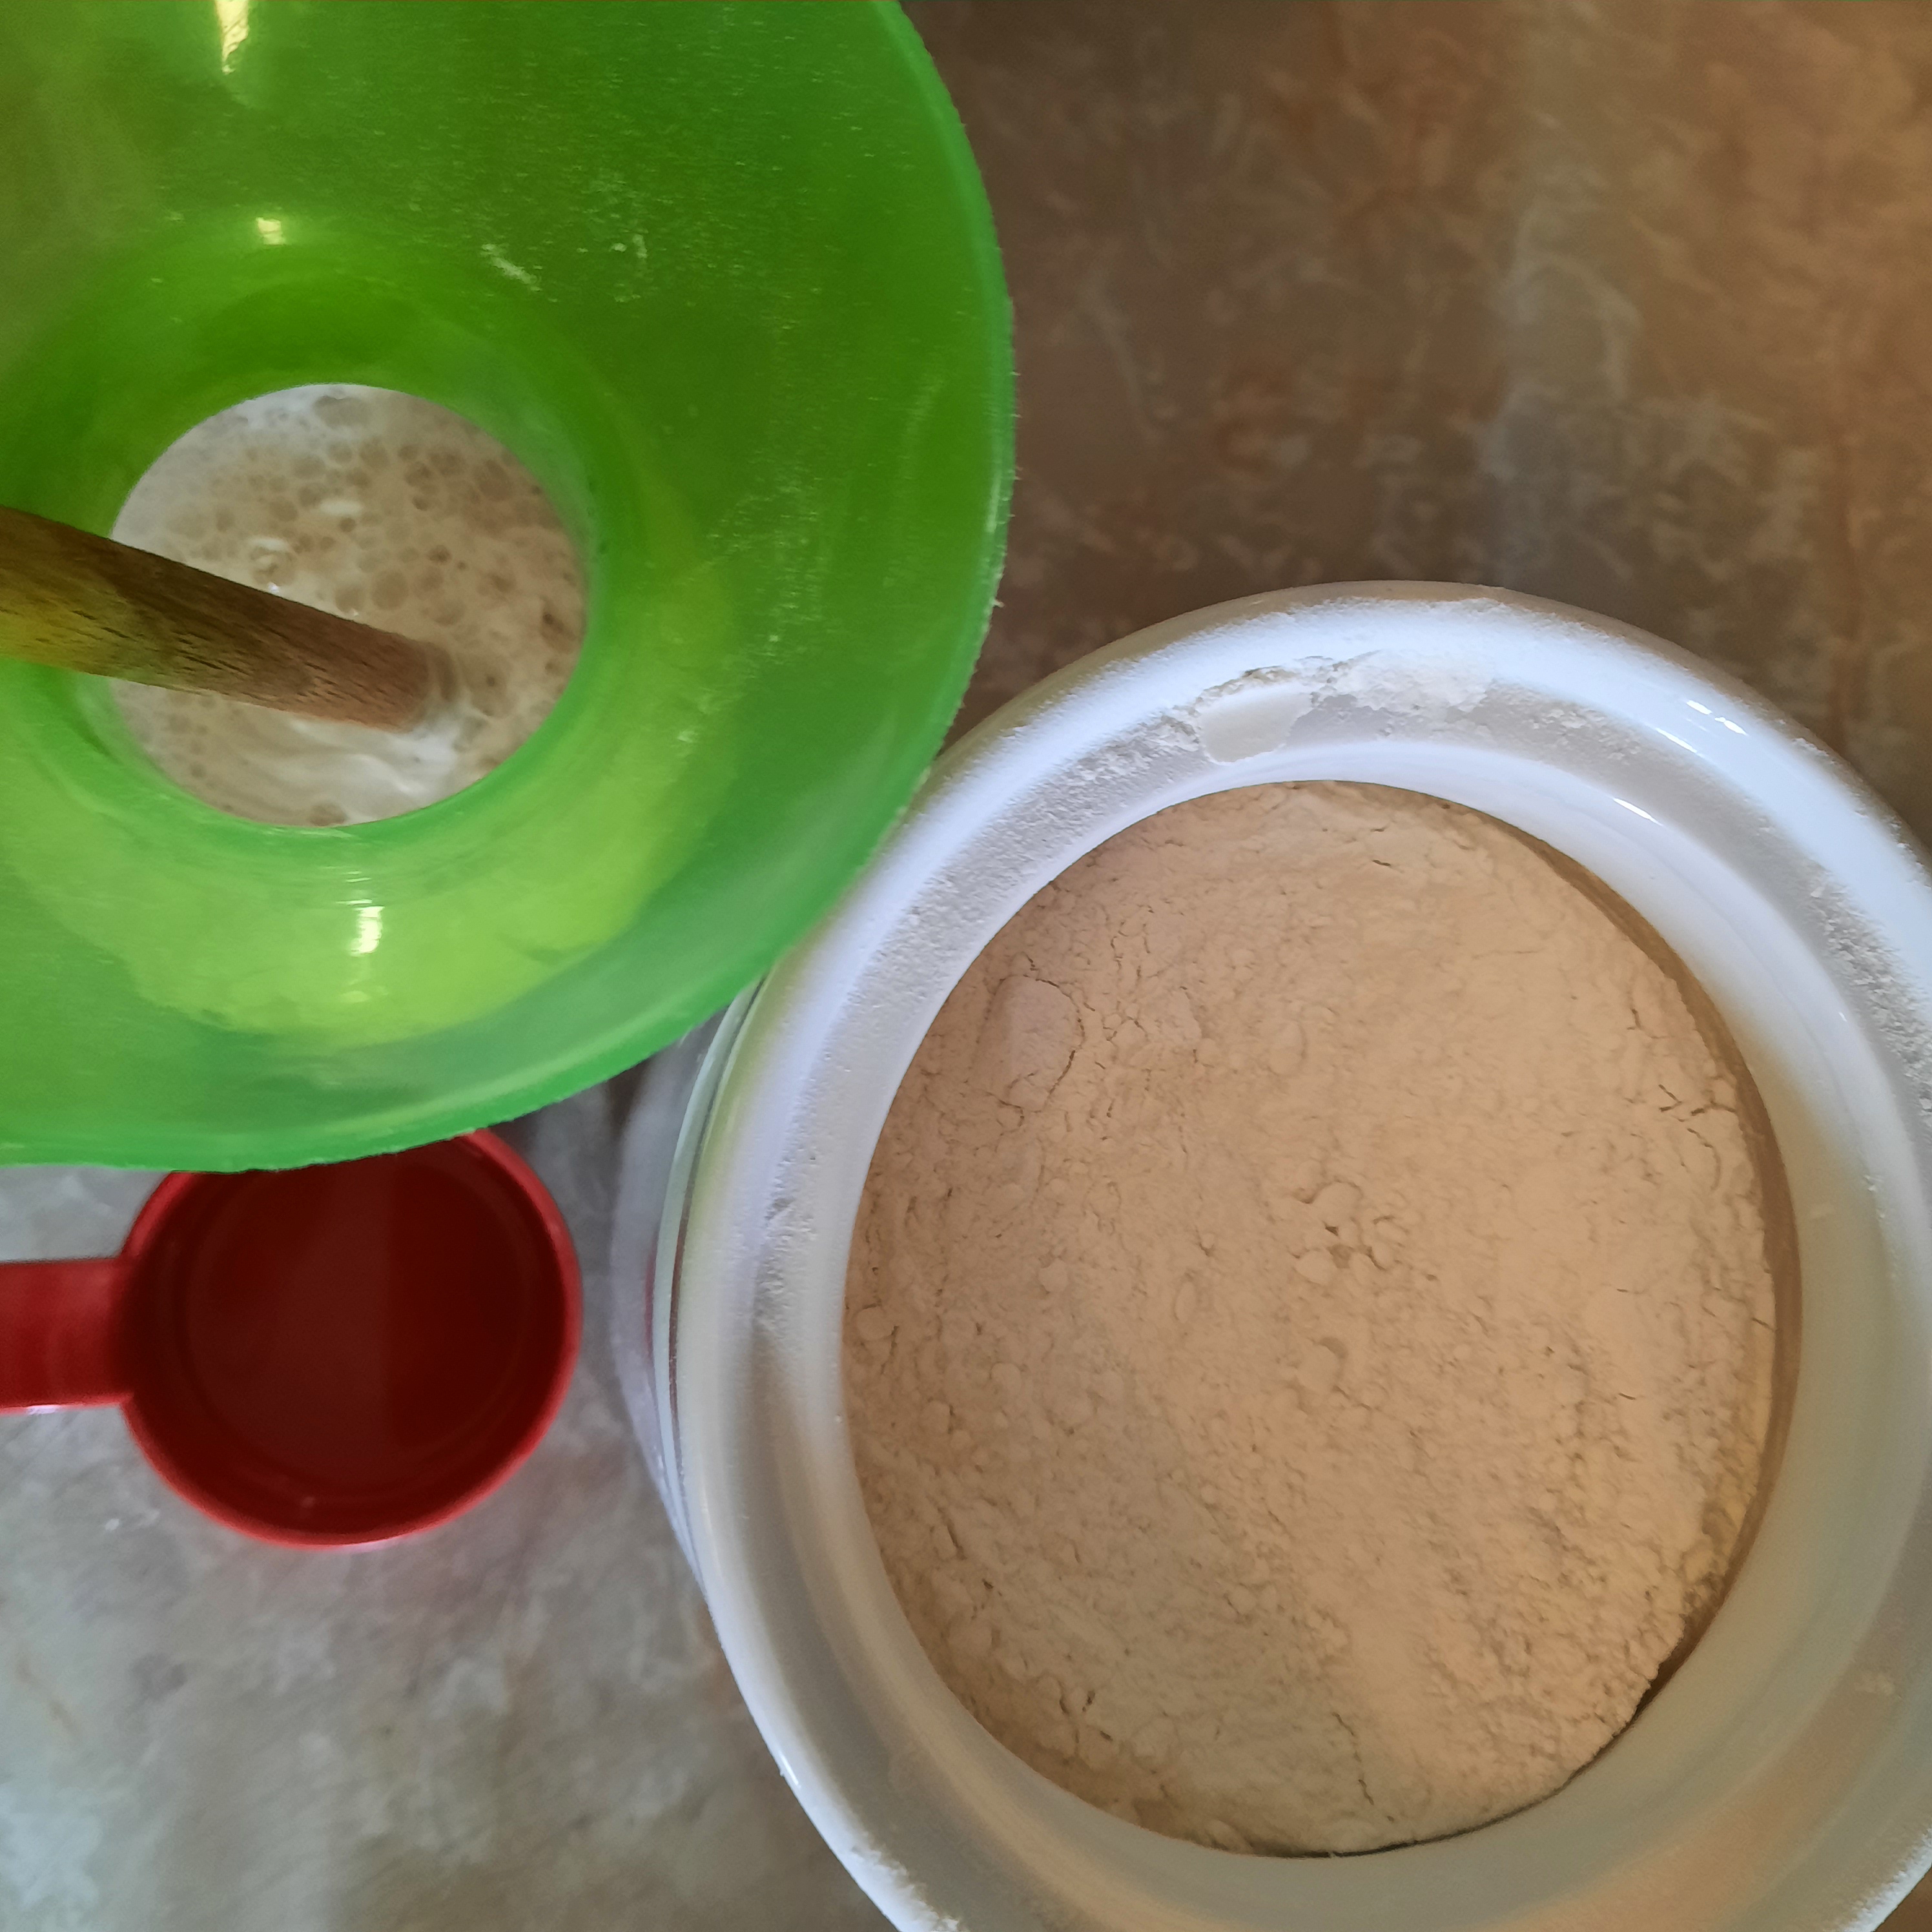
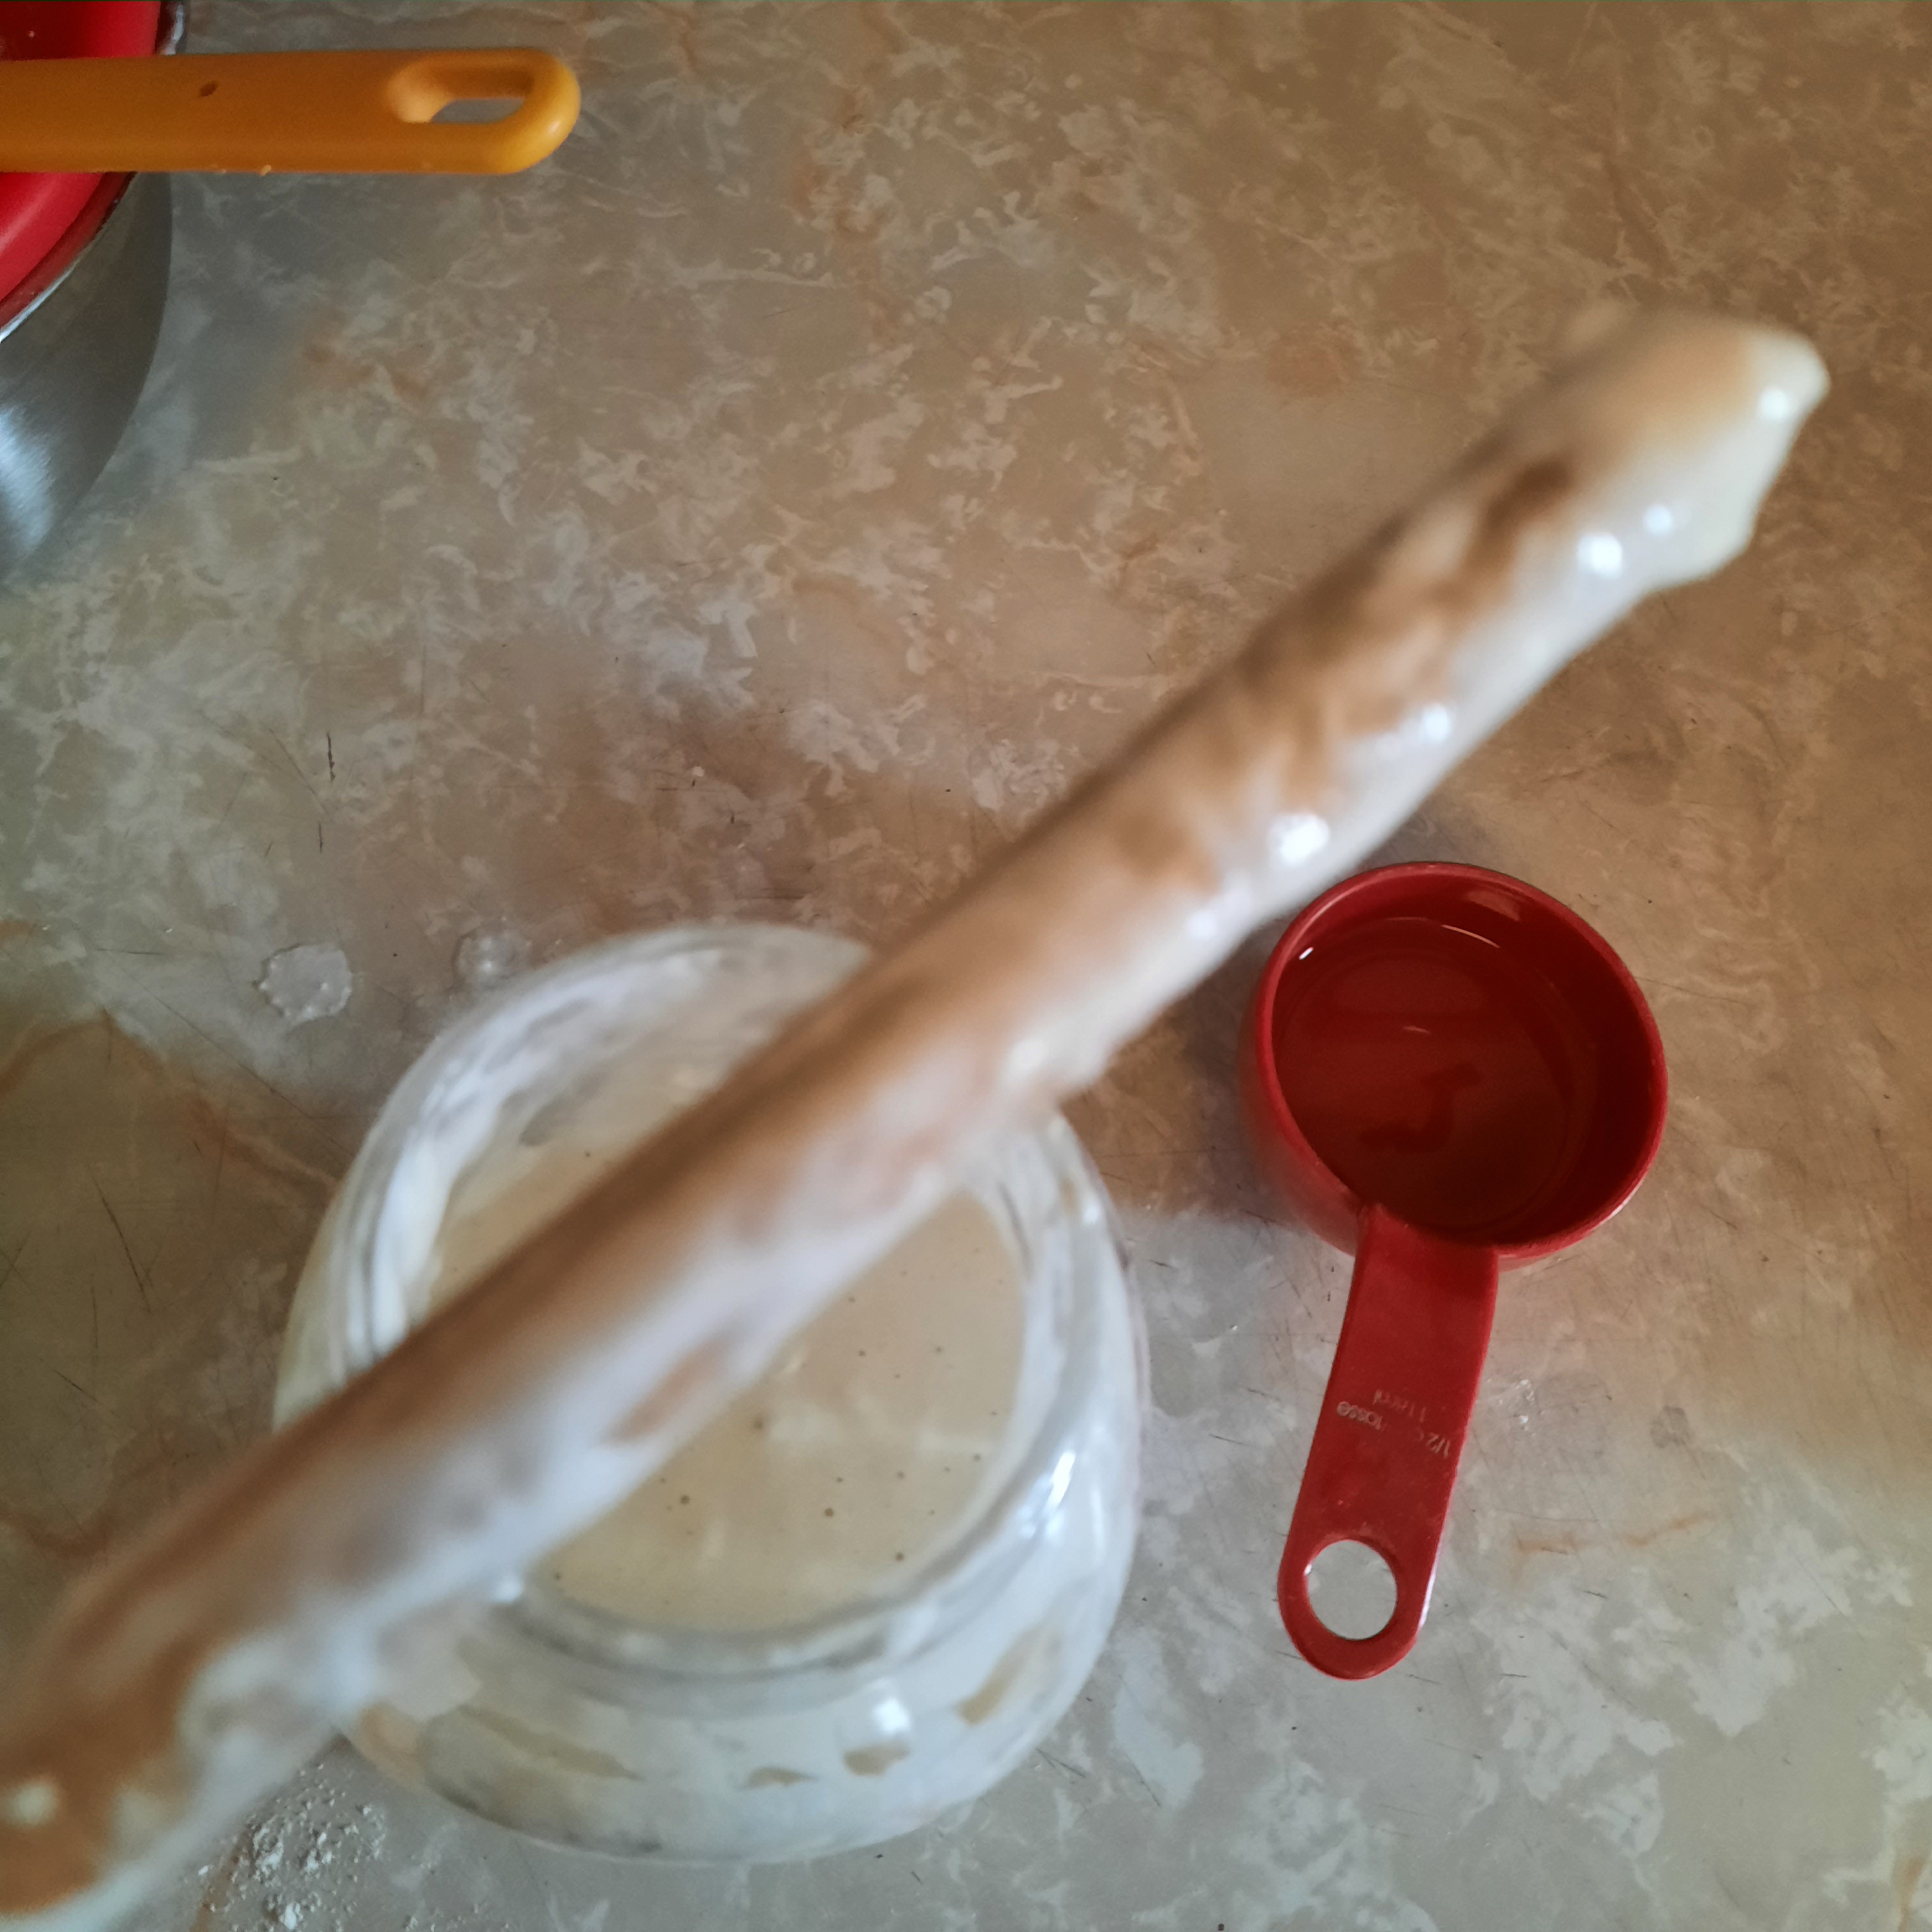
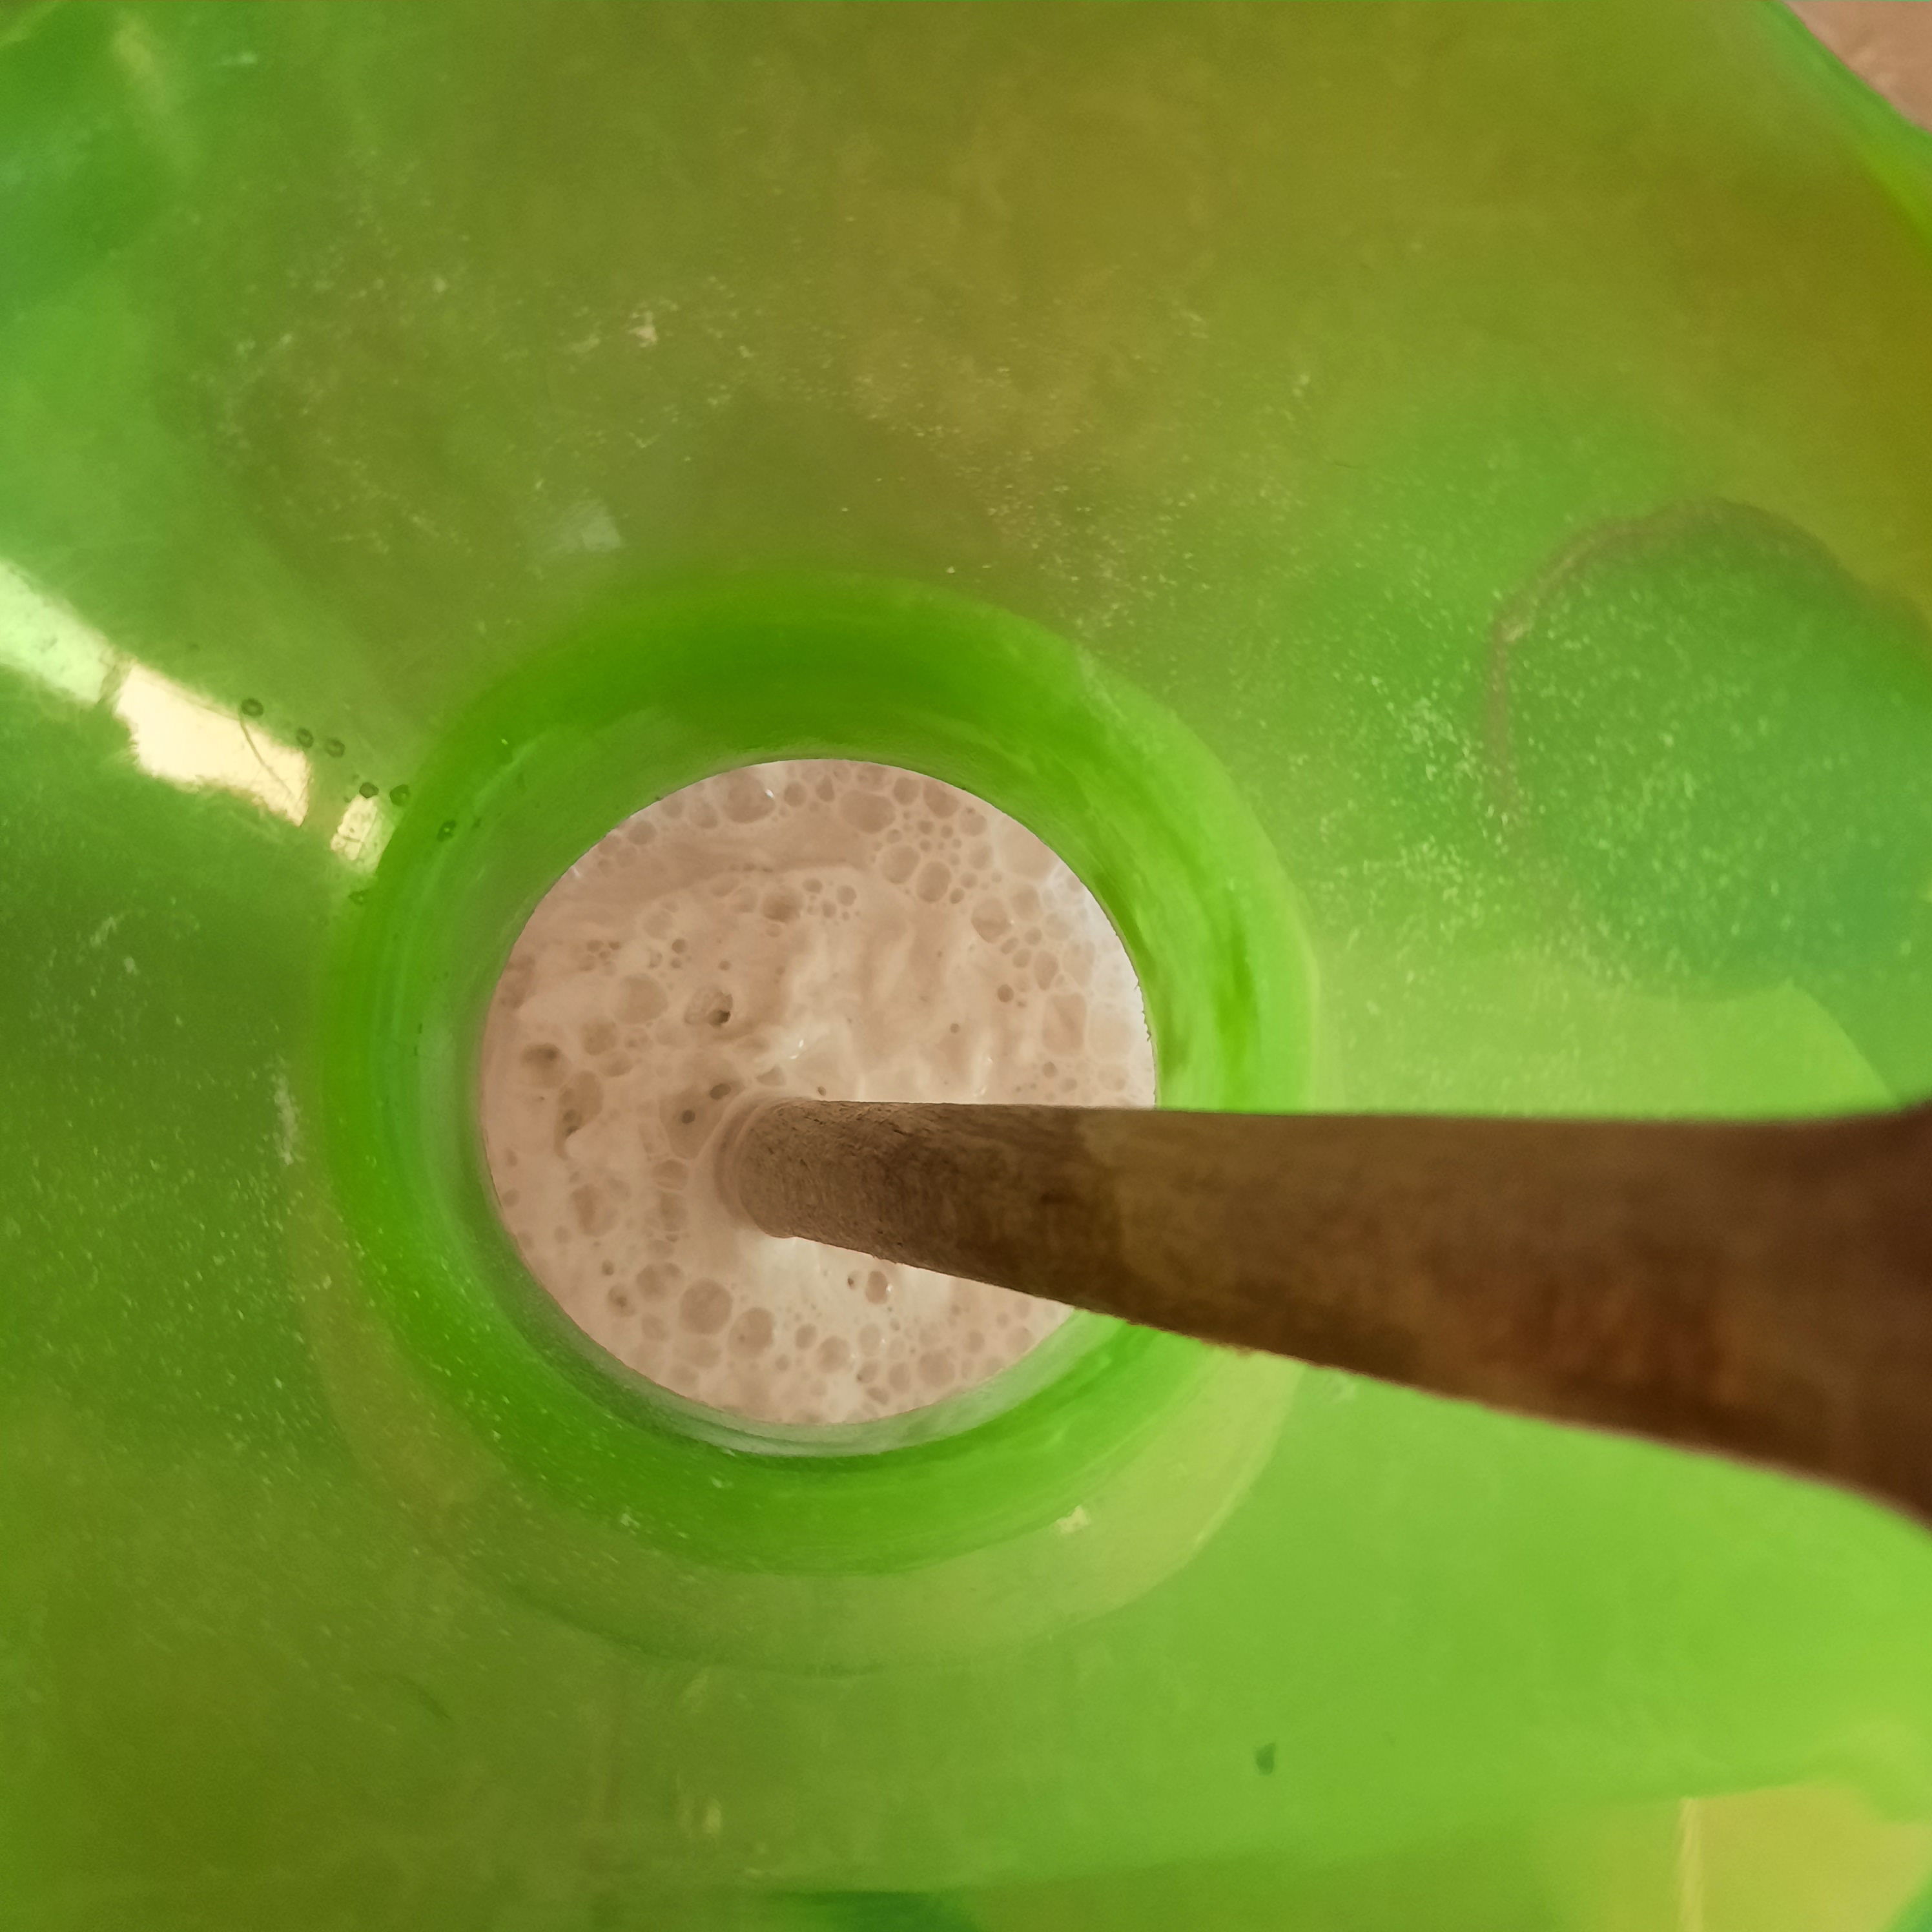
Back into the jar…..
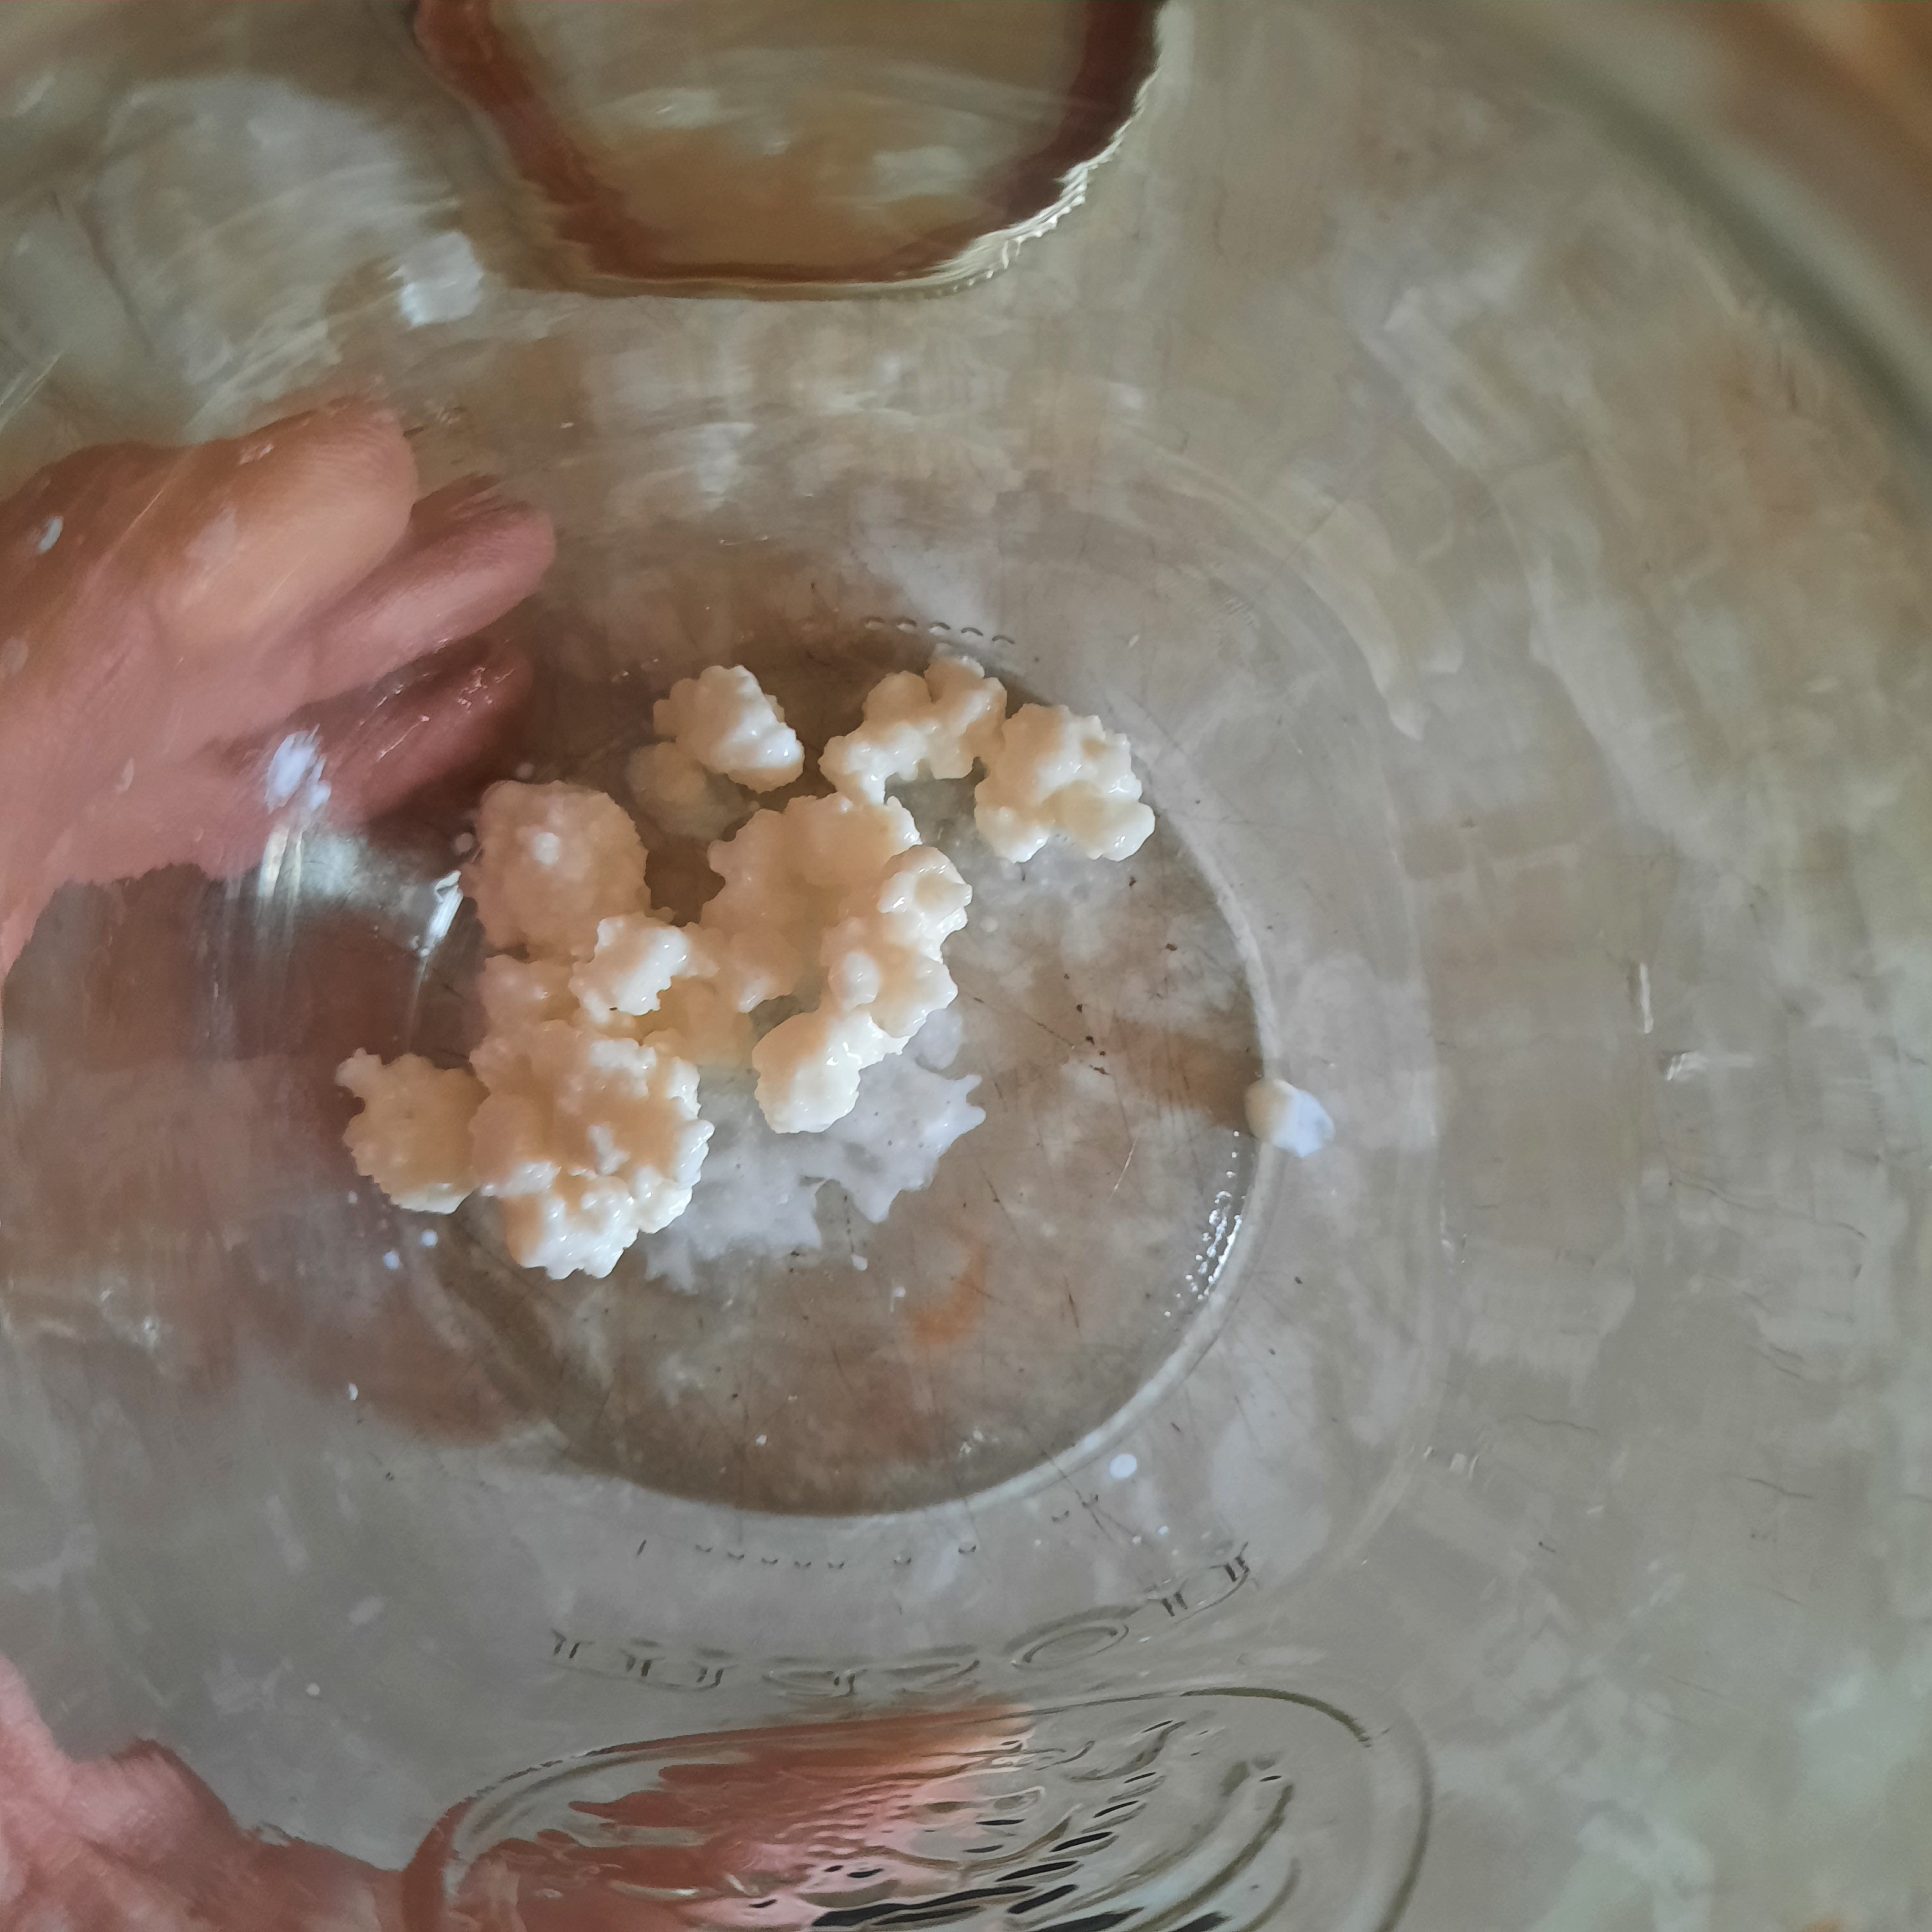
Add about two cups of cold milk and onto the heating pad… this jar will be ready this time tomorrow. It can be used a a straight drink or add fruit and puree it or cook with it in pancakes, waffles etc….
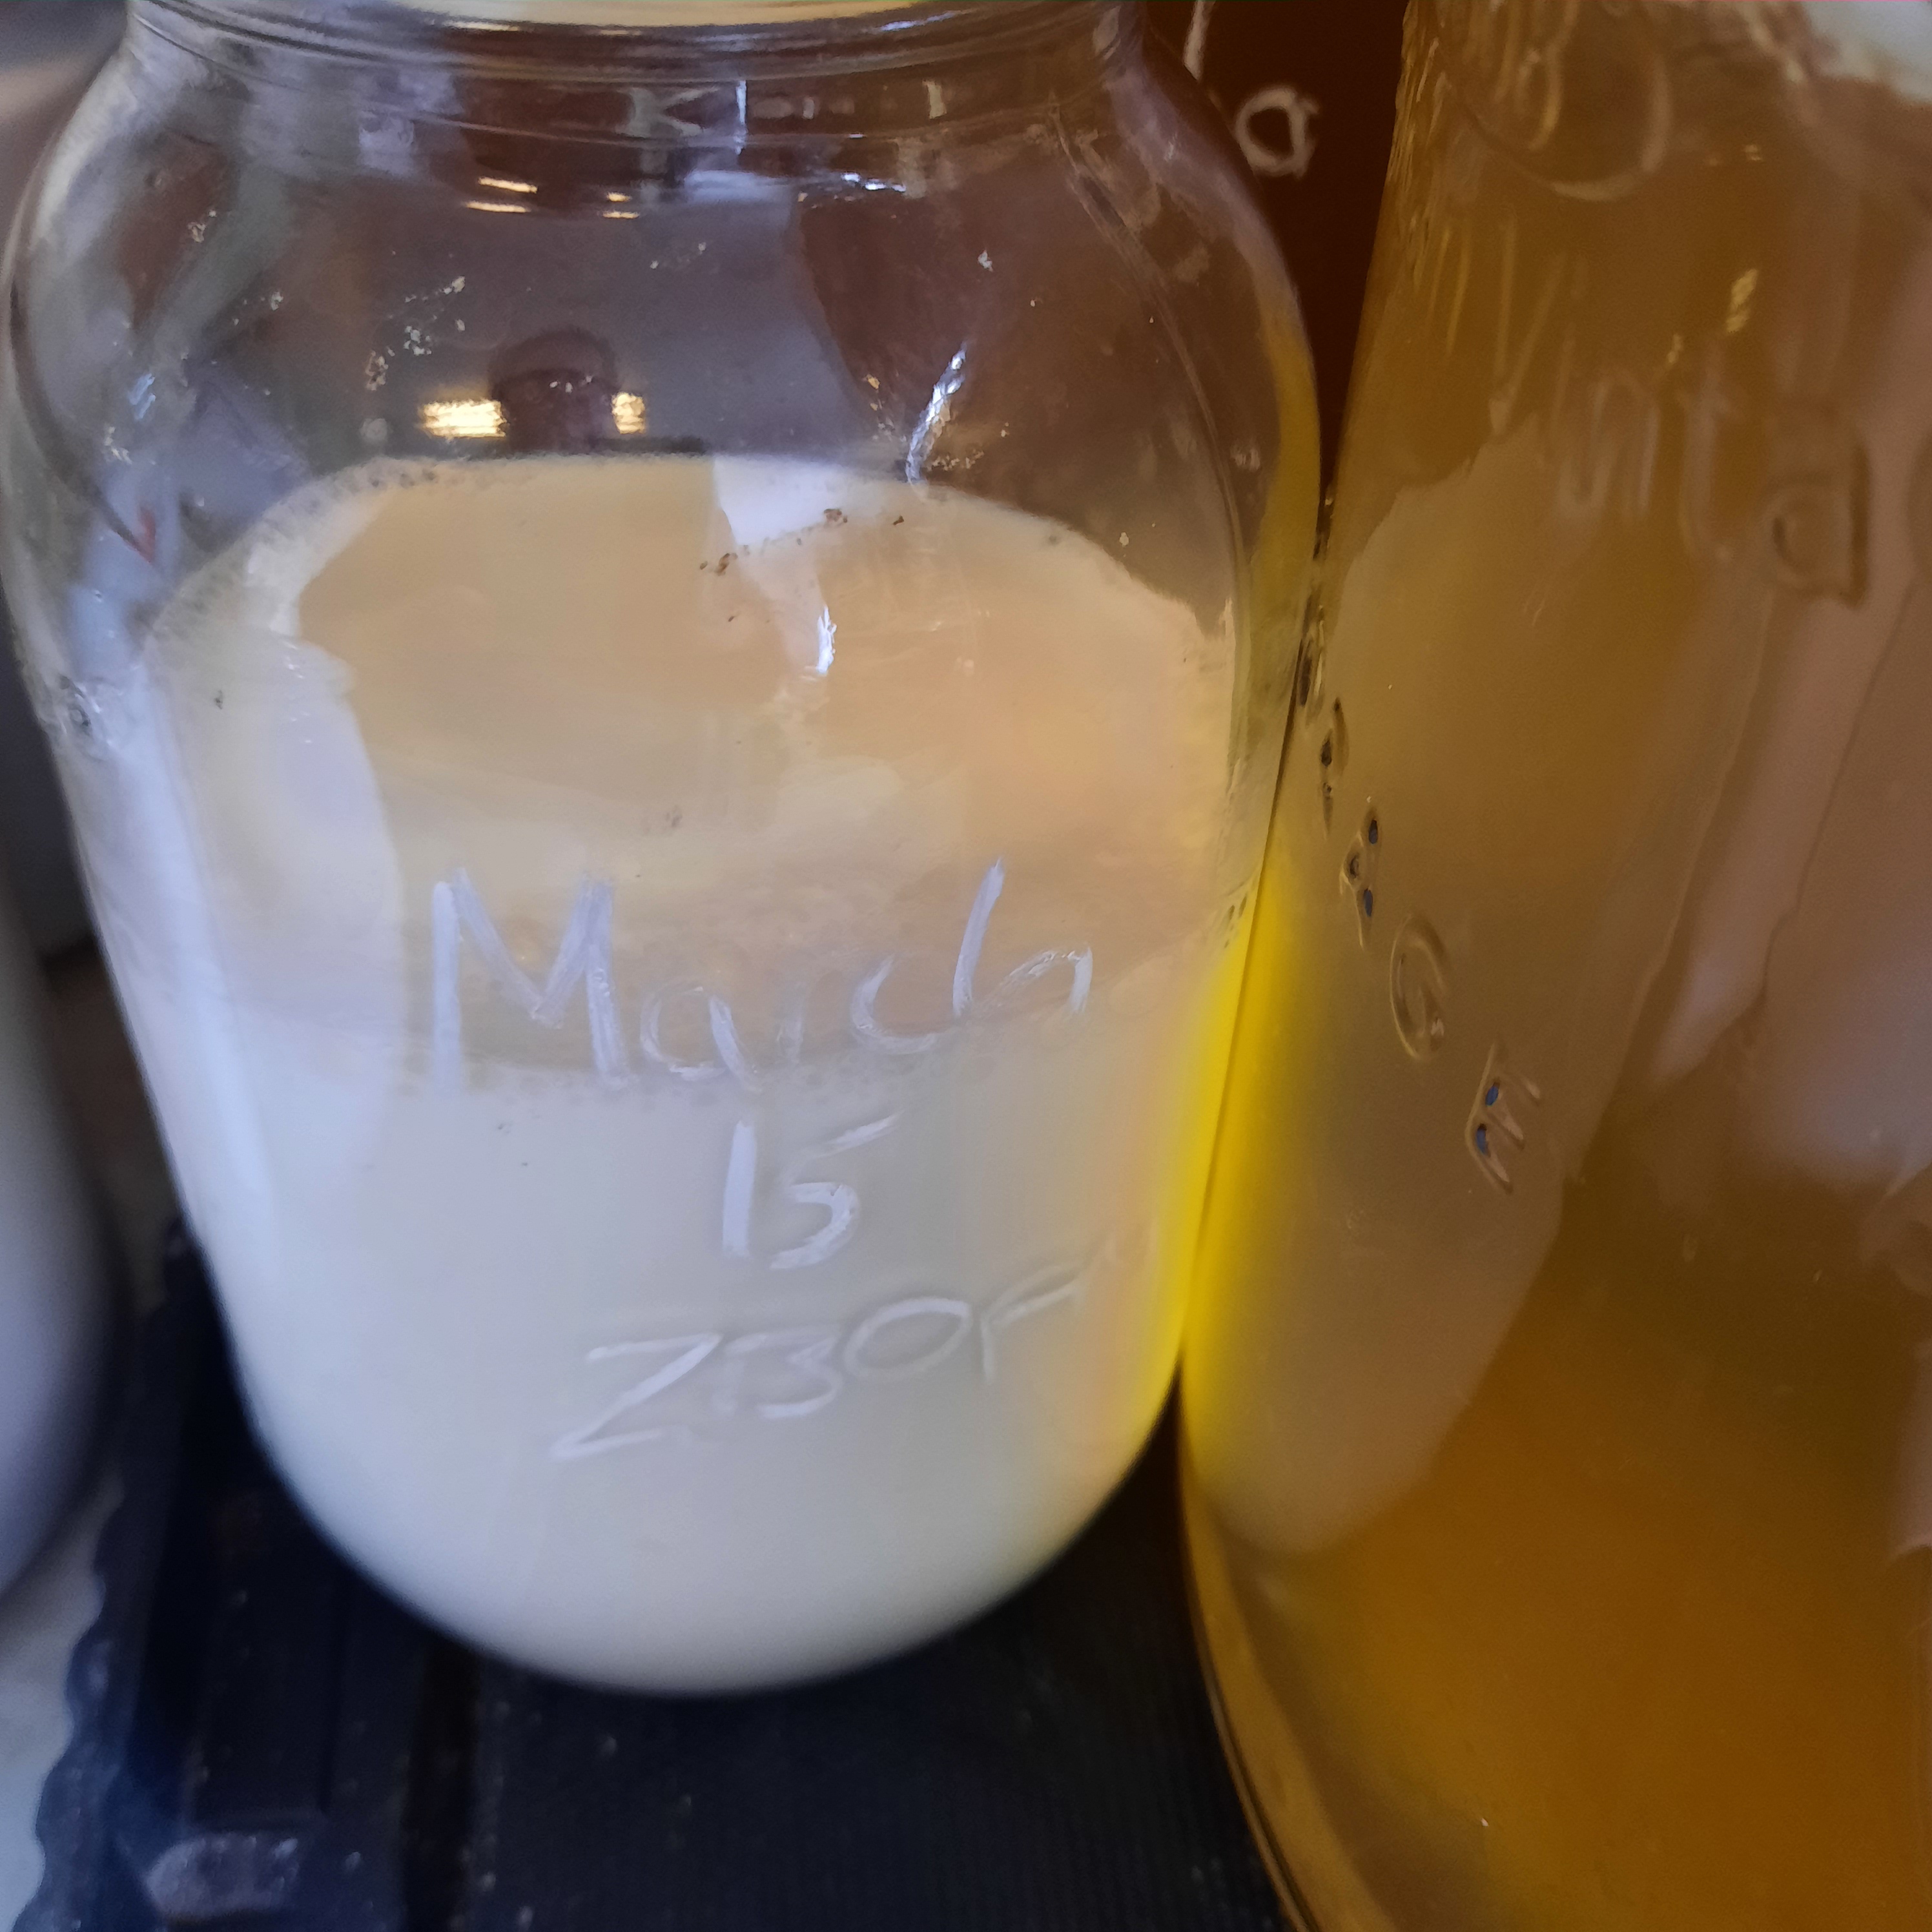
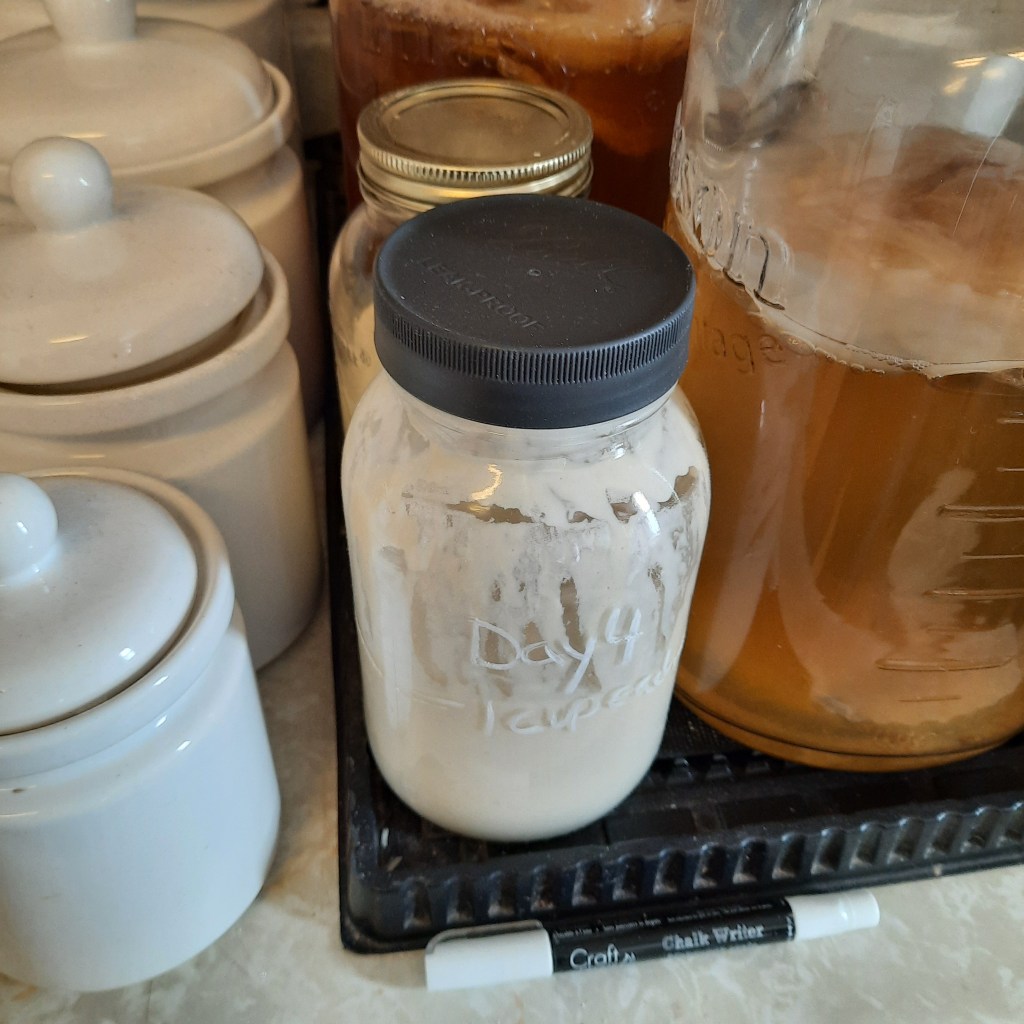
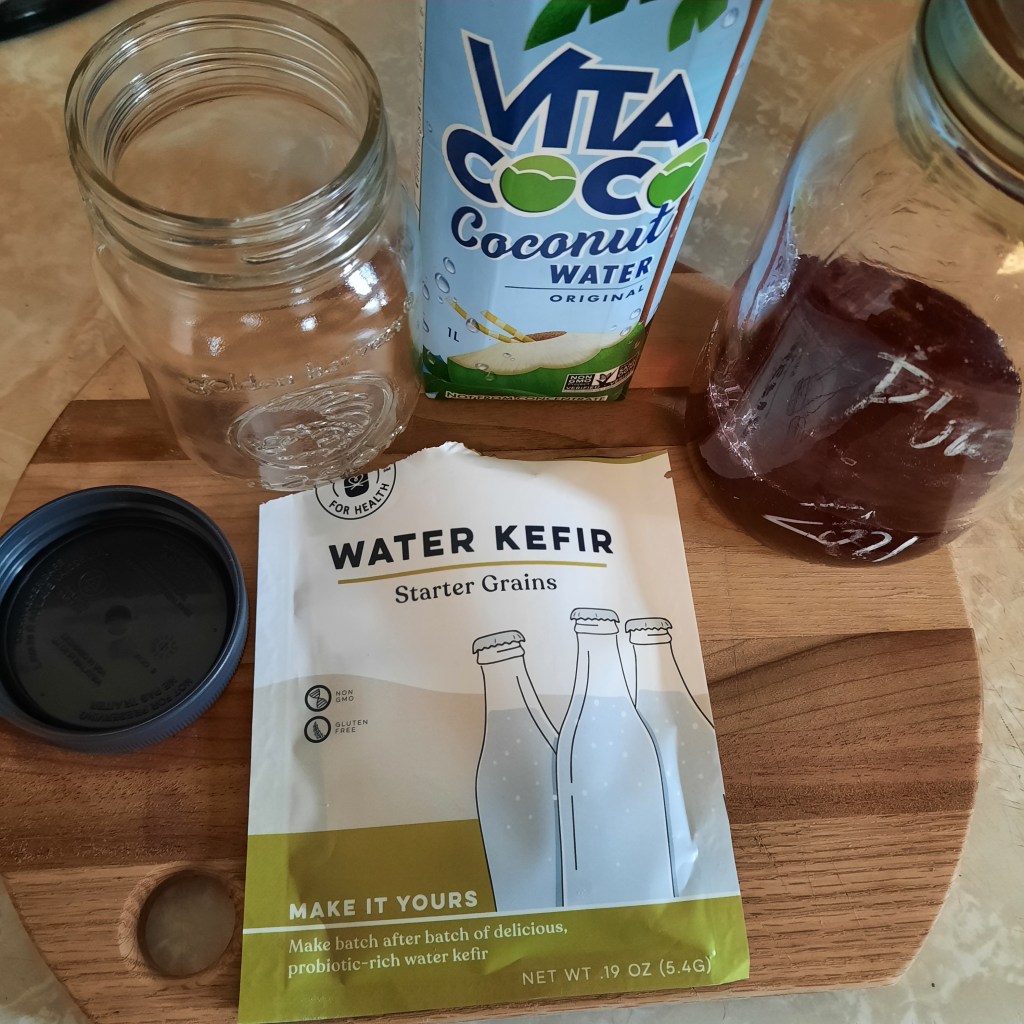
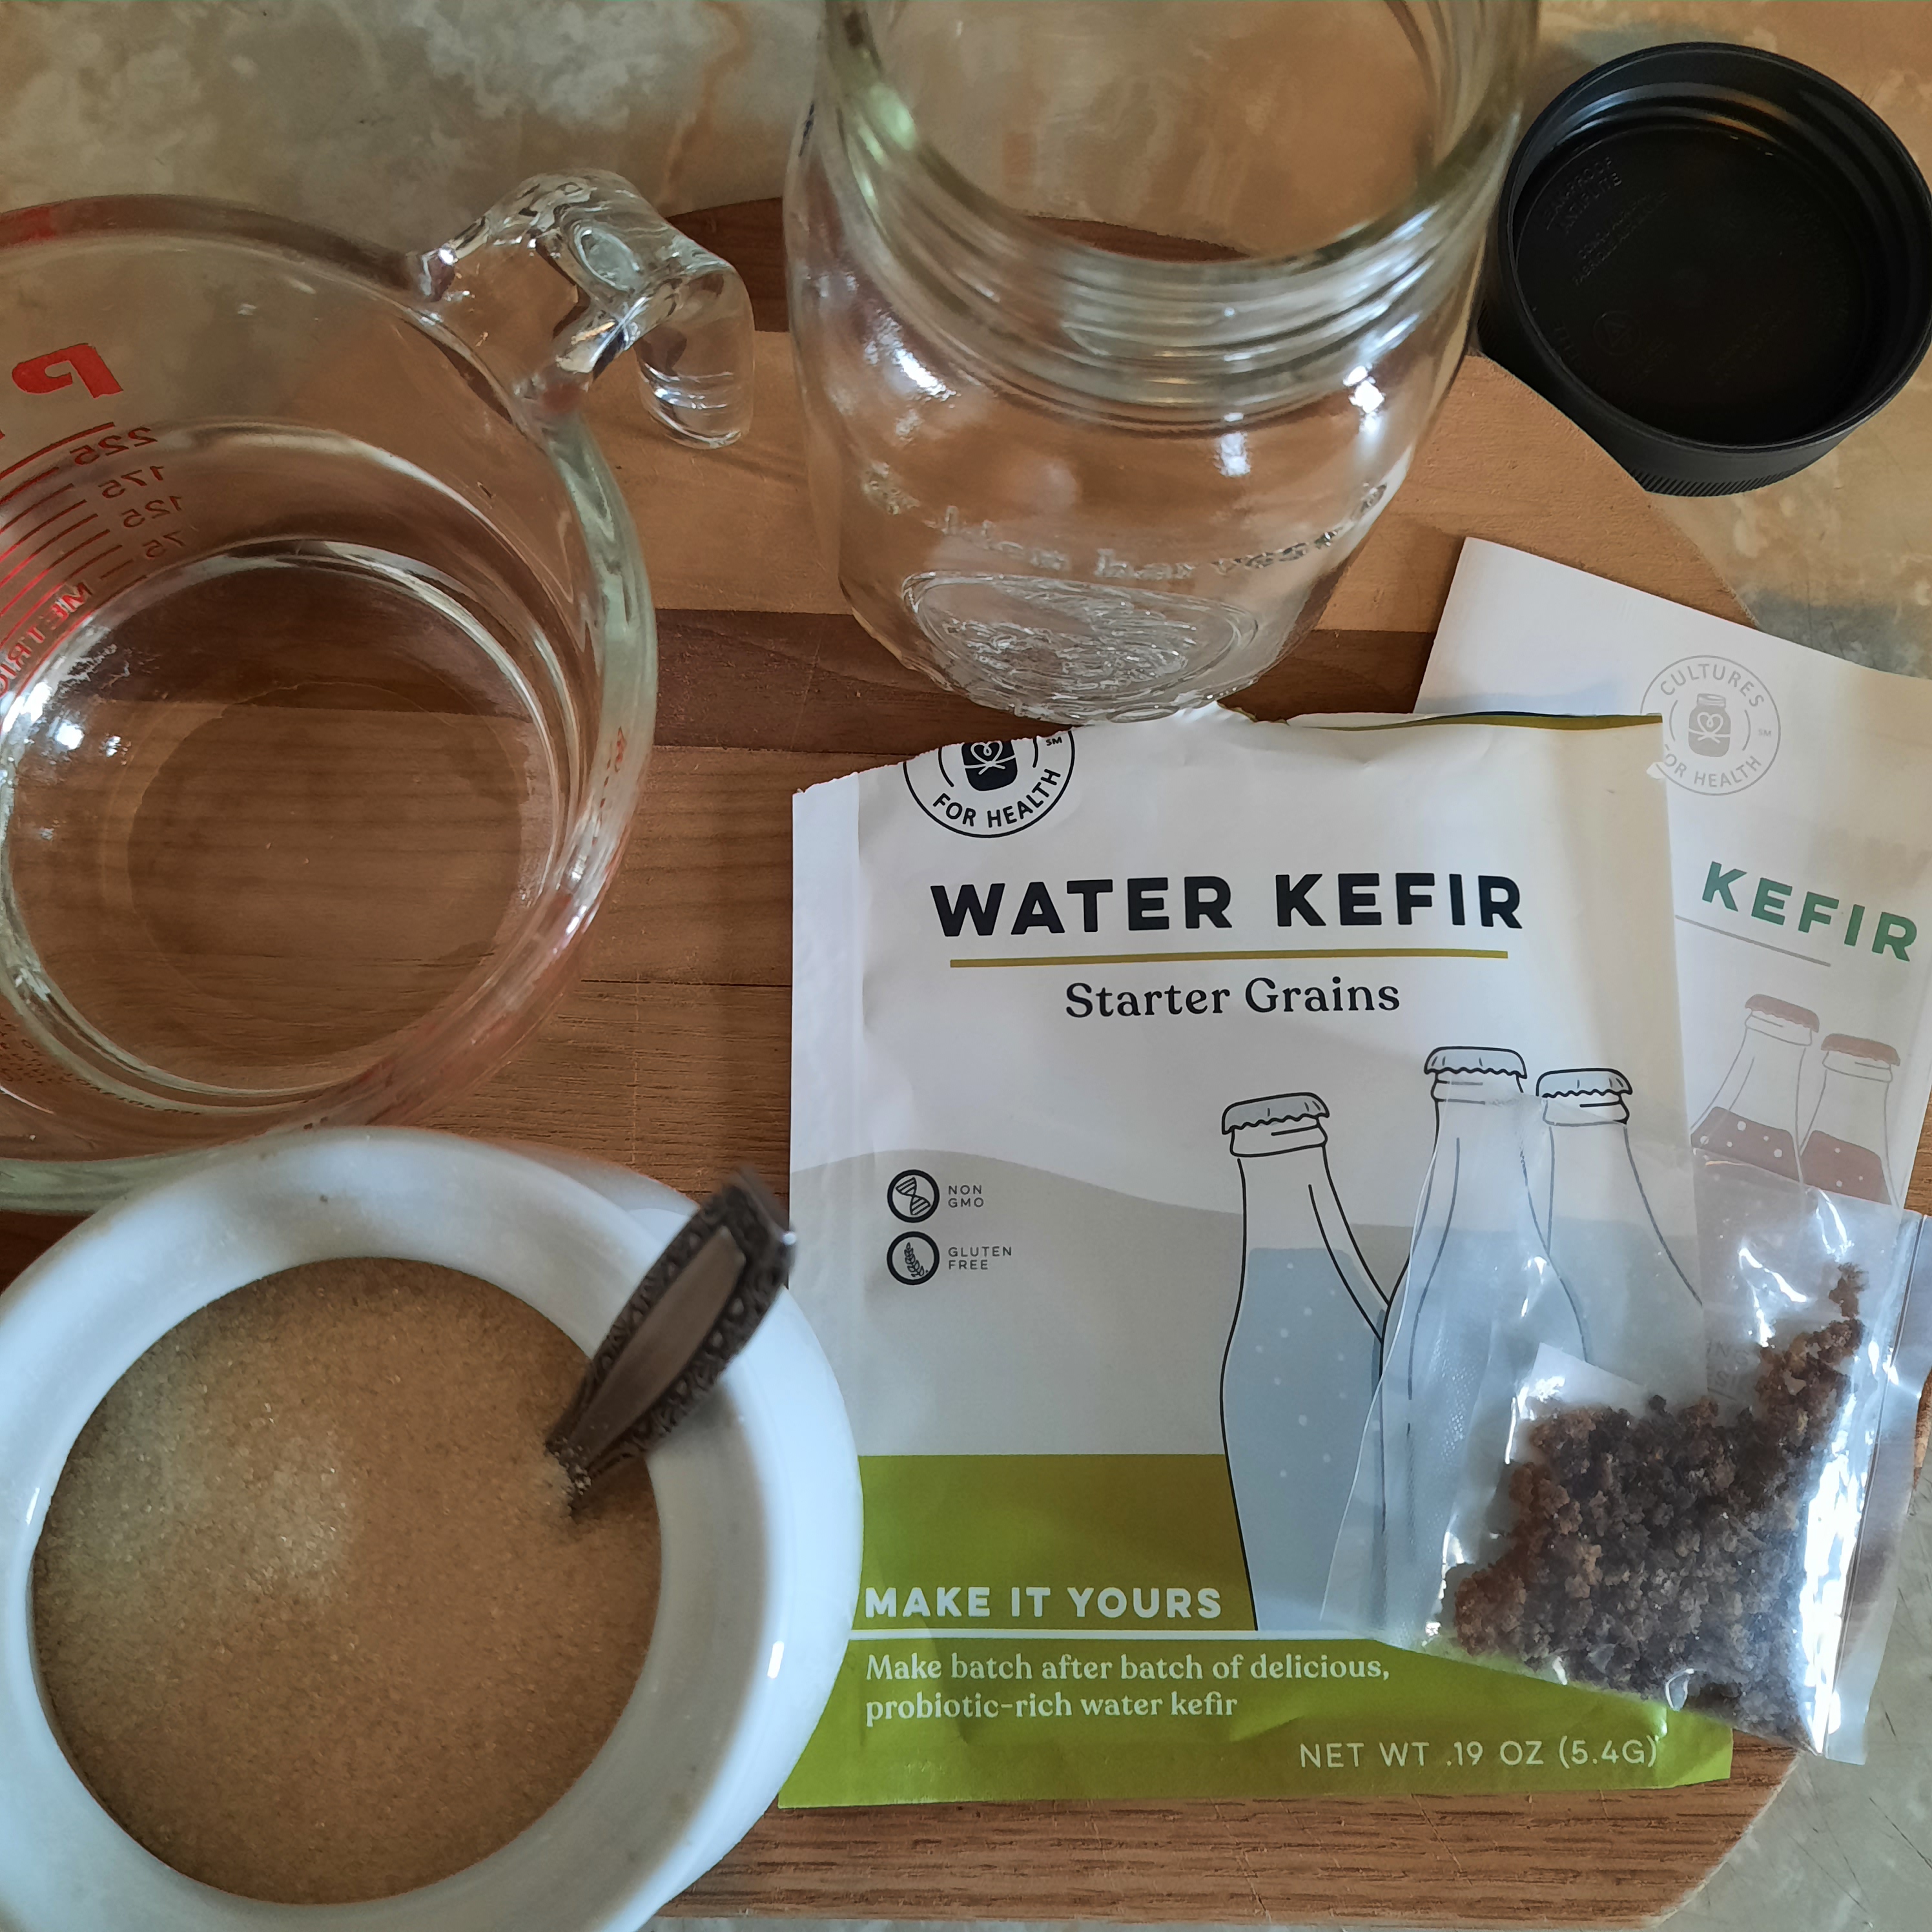
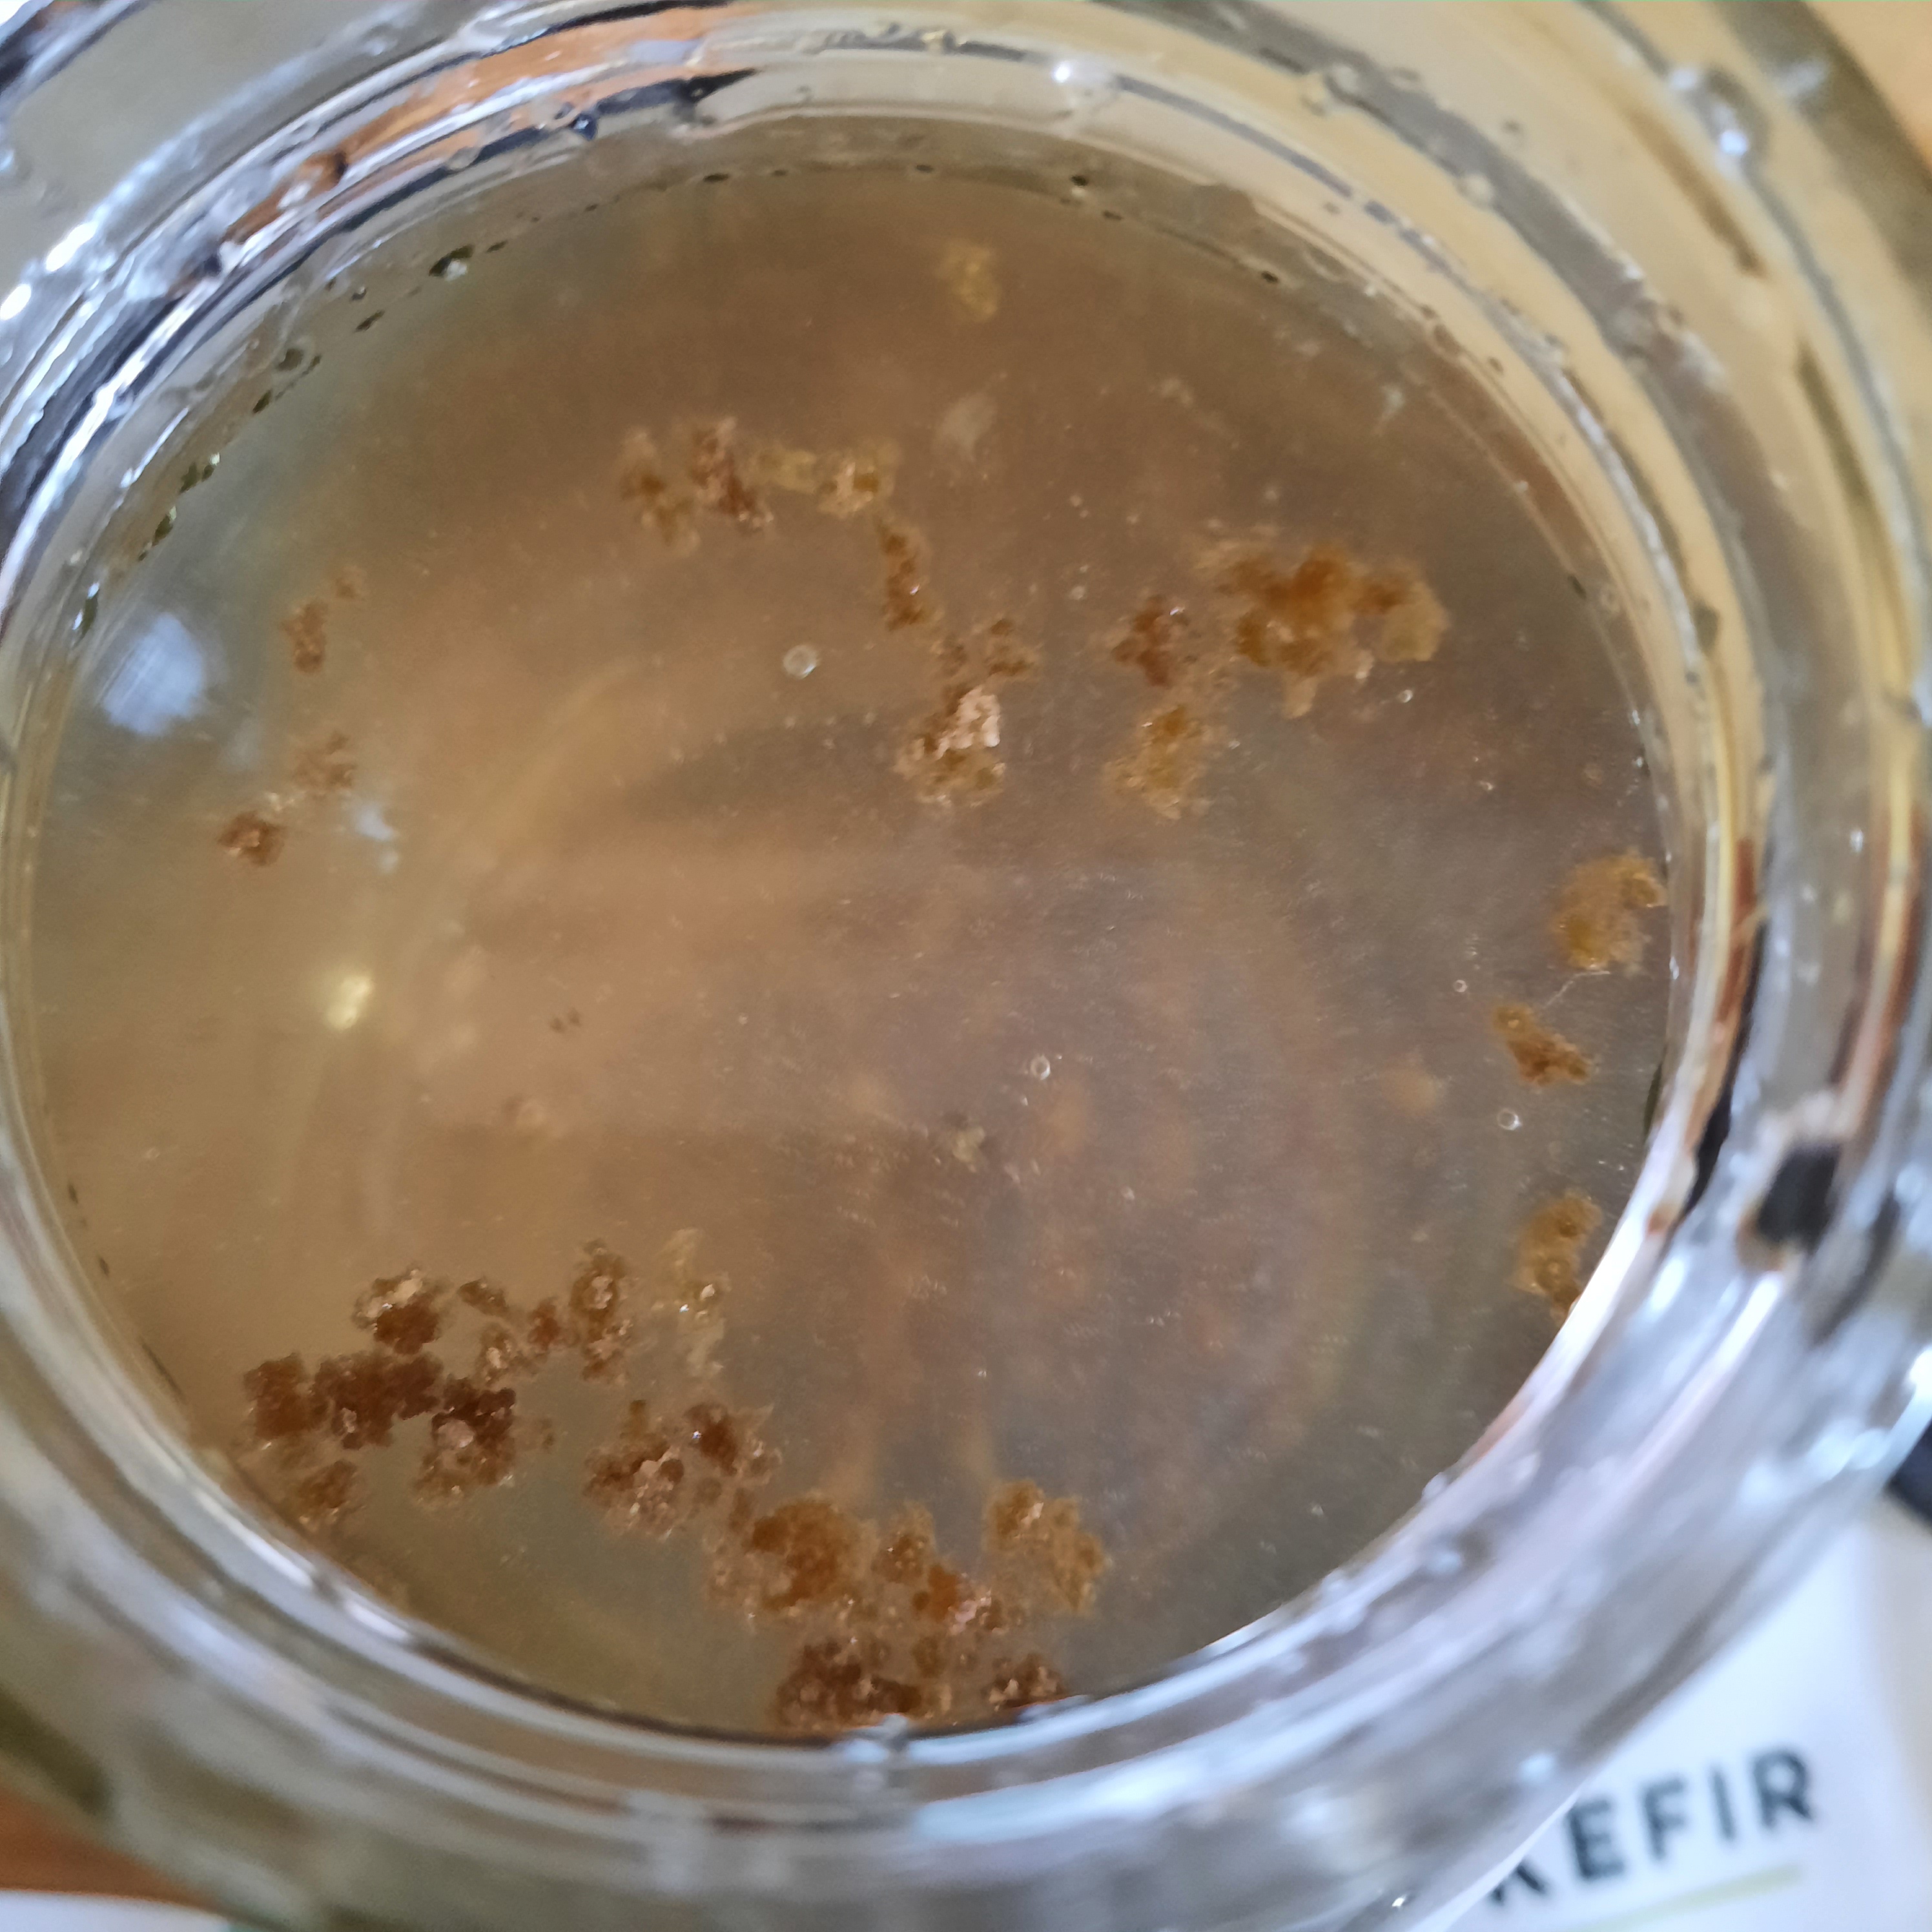
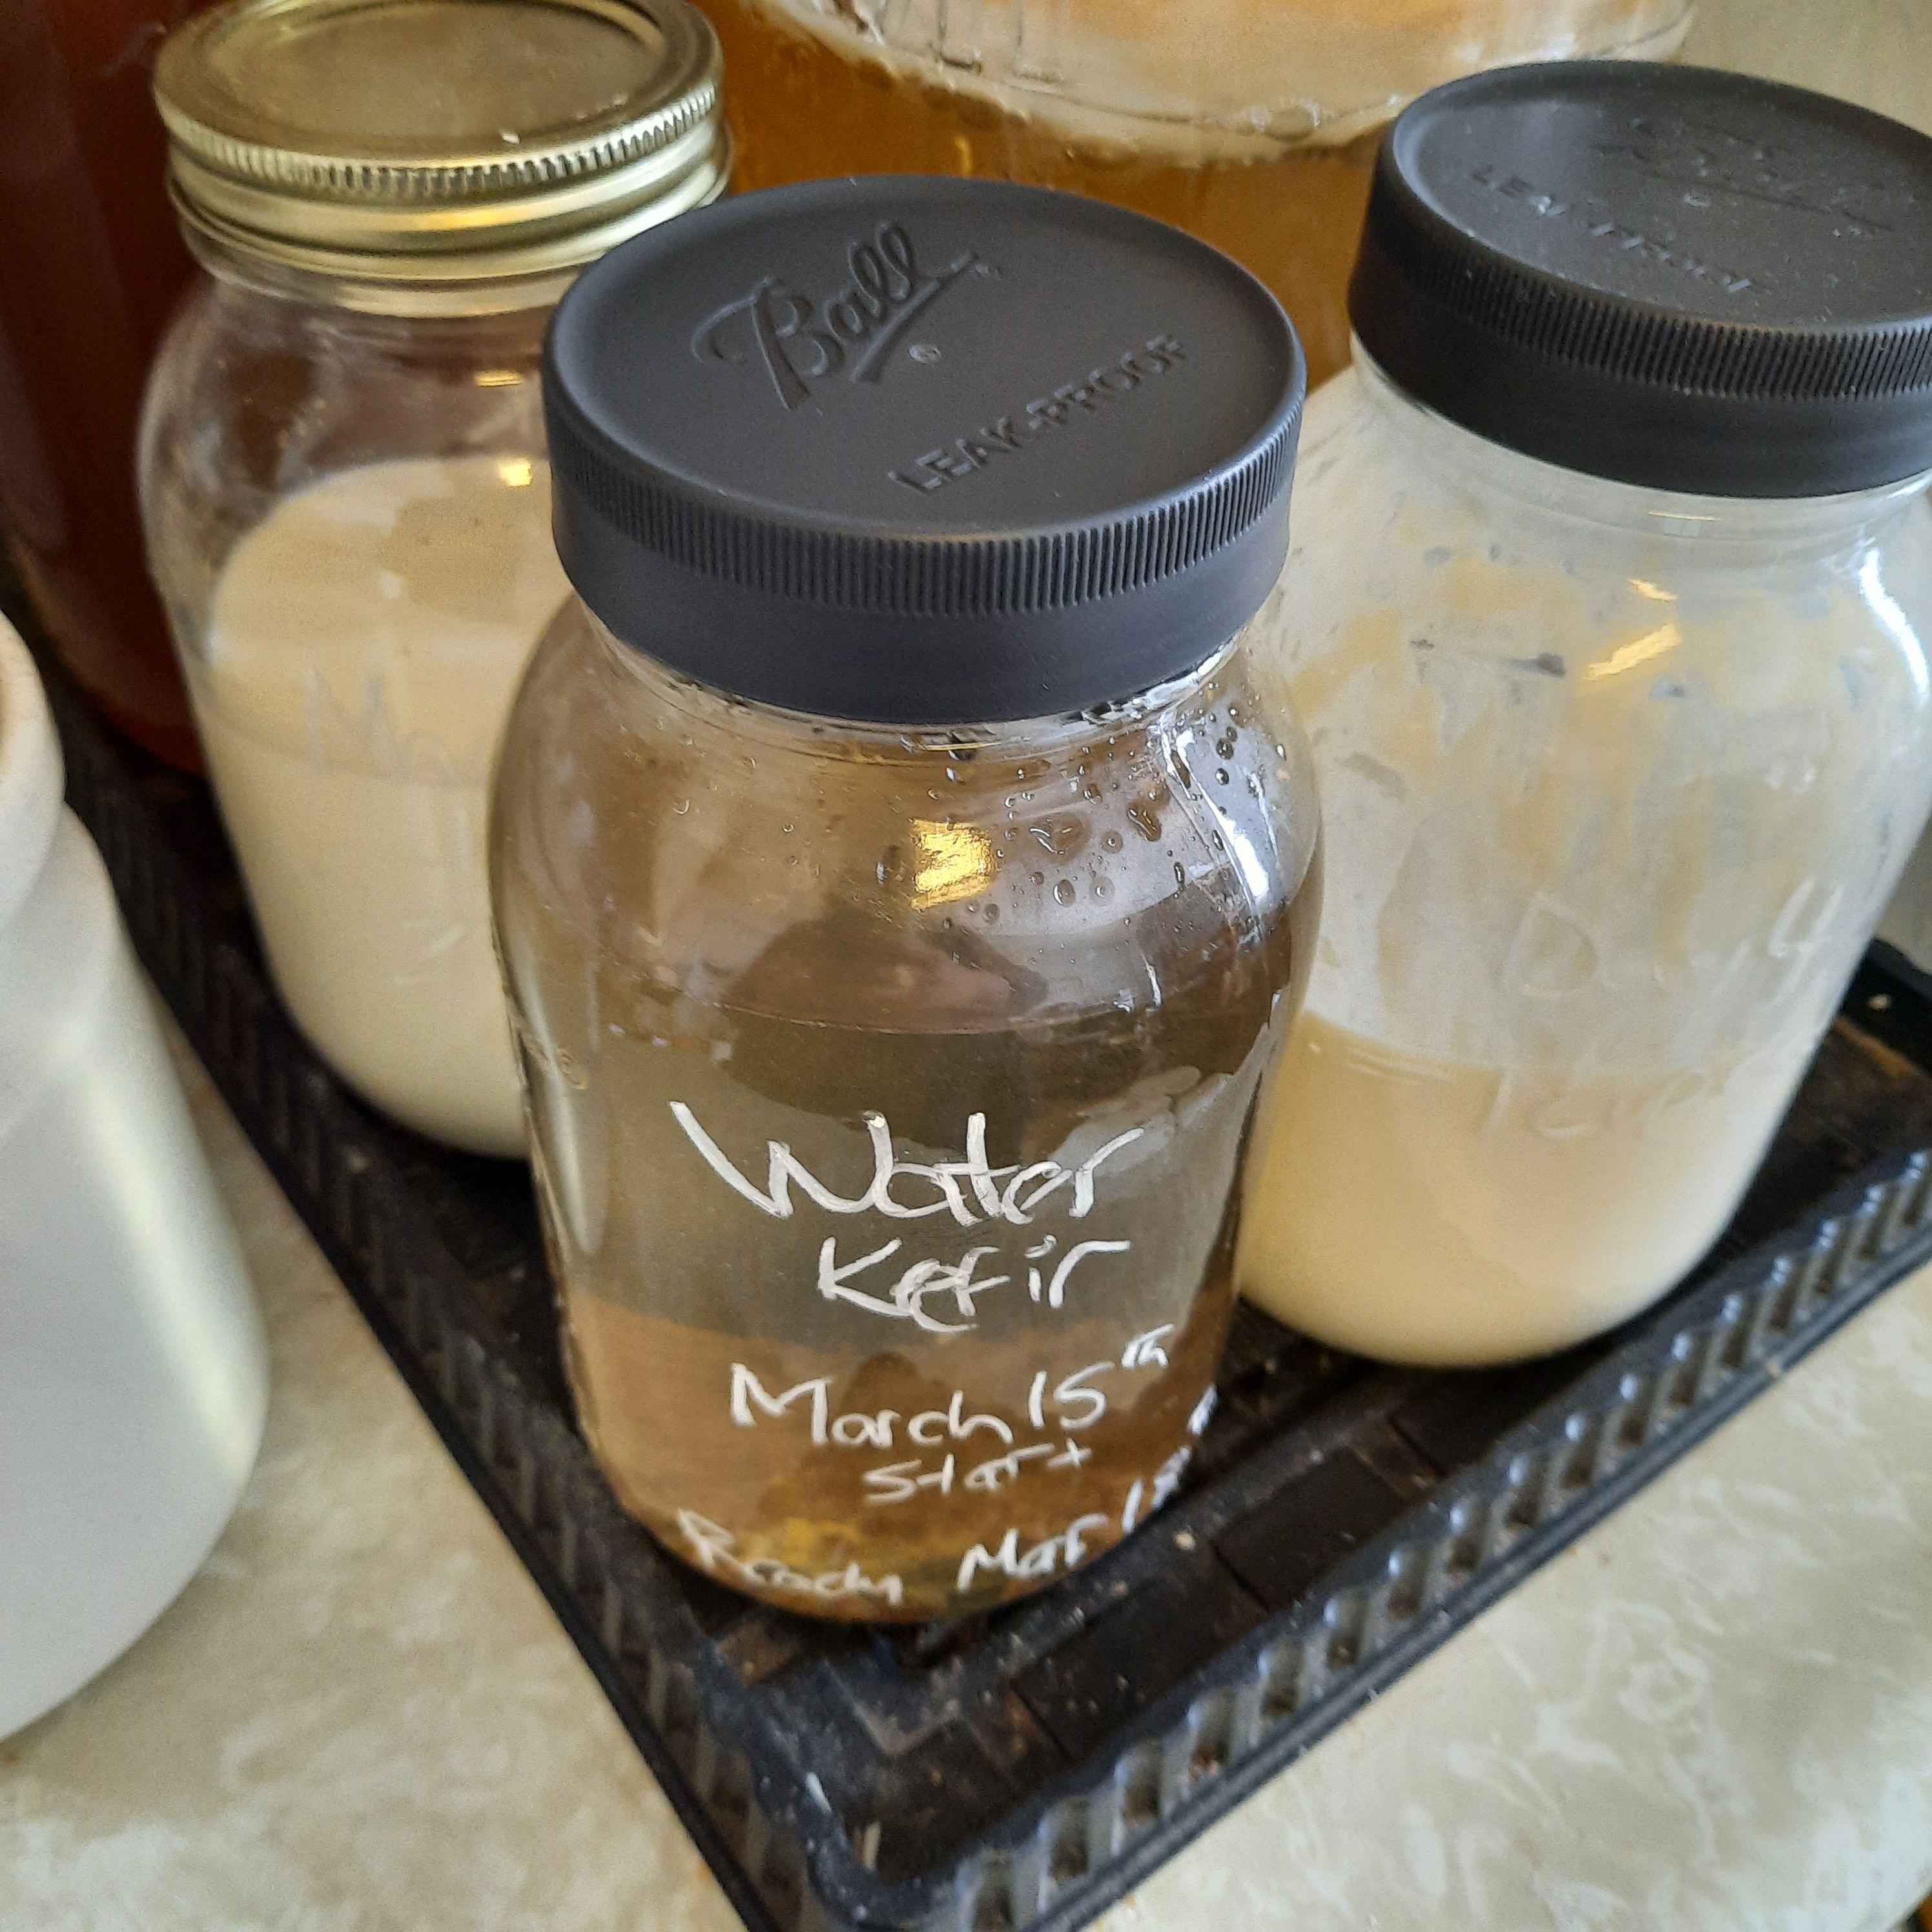
I also activated my water kefir grains. So in three days time it should be ready to start brewing. We have never had water kefir before so this is a new one for us….. my intent is to brew it in sugar water and then the different fruit juices or fruit or coconut water…. should be fun trying to play with that getting use to the new taste and flavors that can be created…..

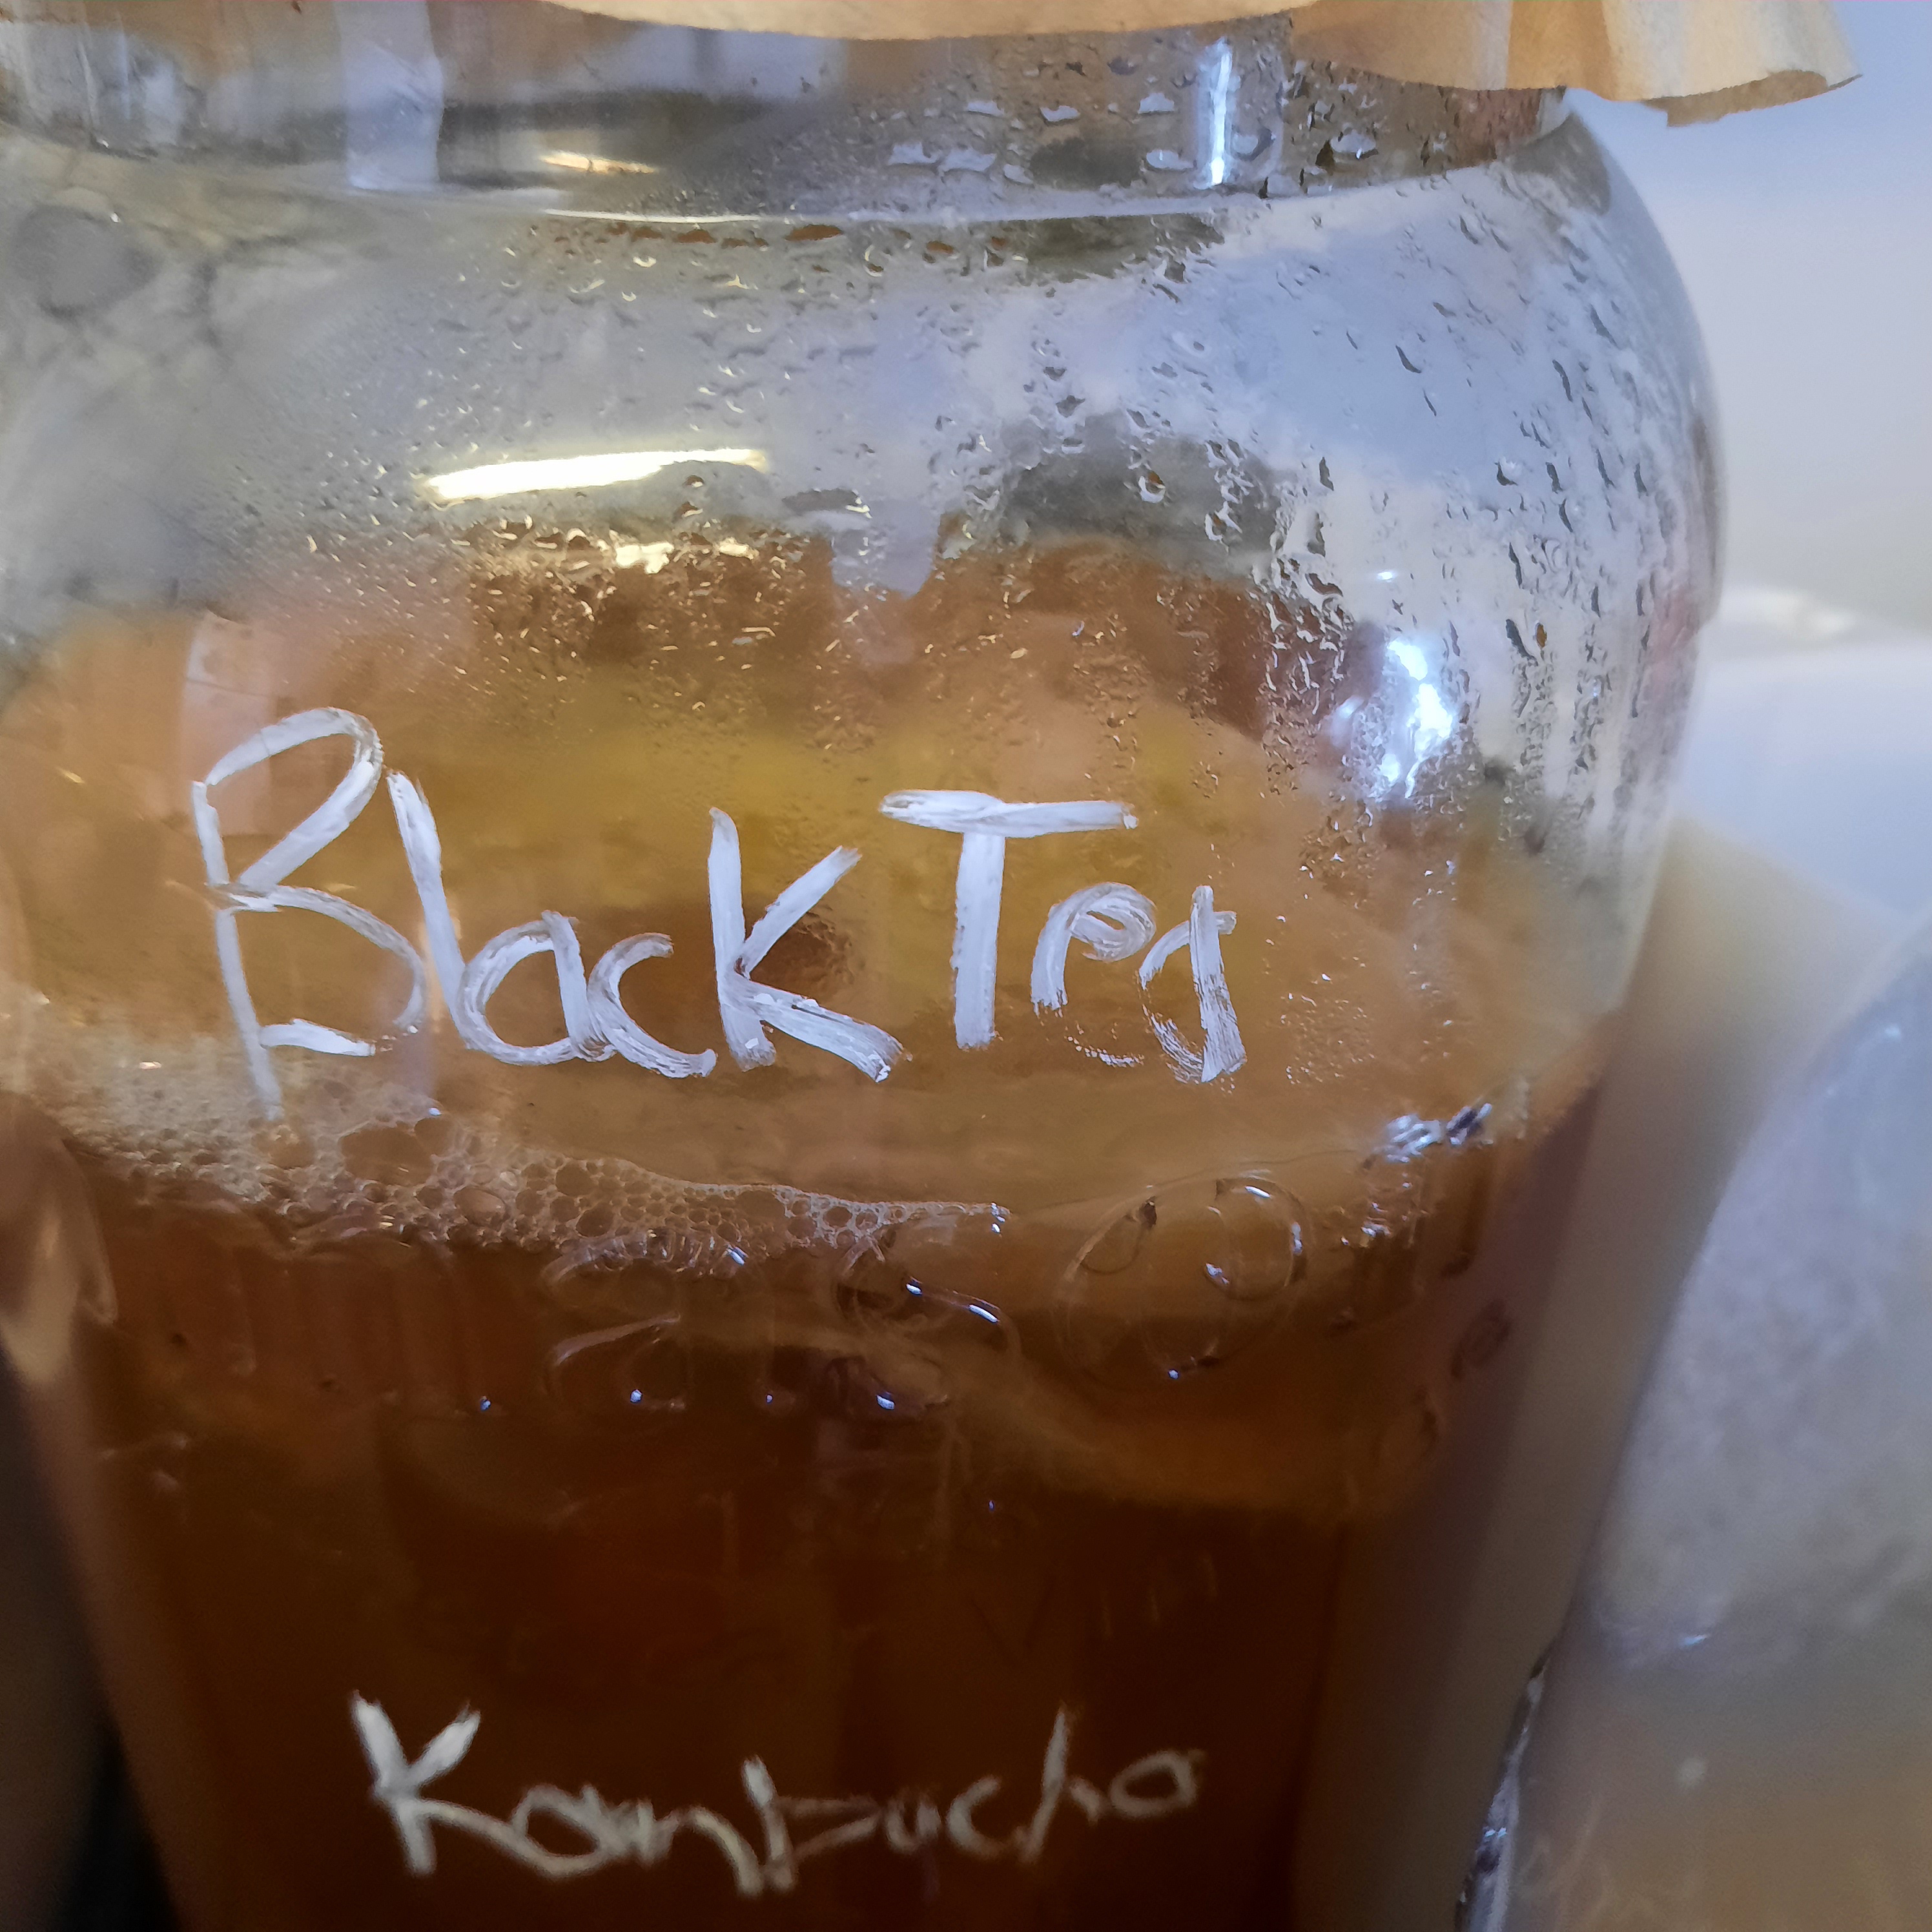
I am brewing up two double batches of green tea and black tea kombucha….. always a favorite here on the homestead.
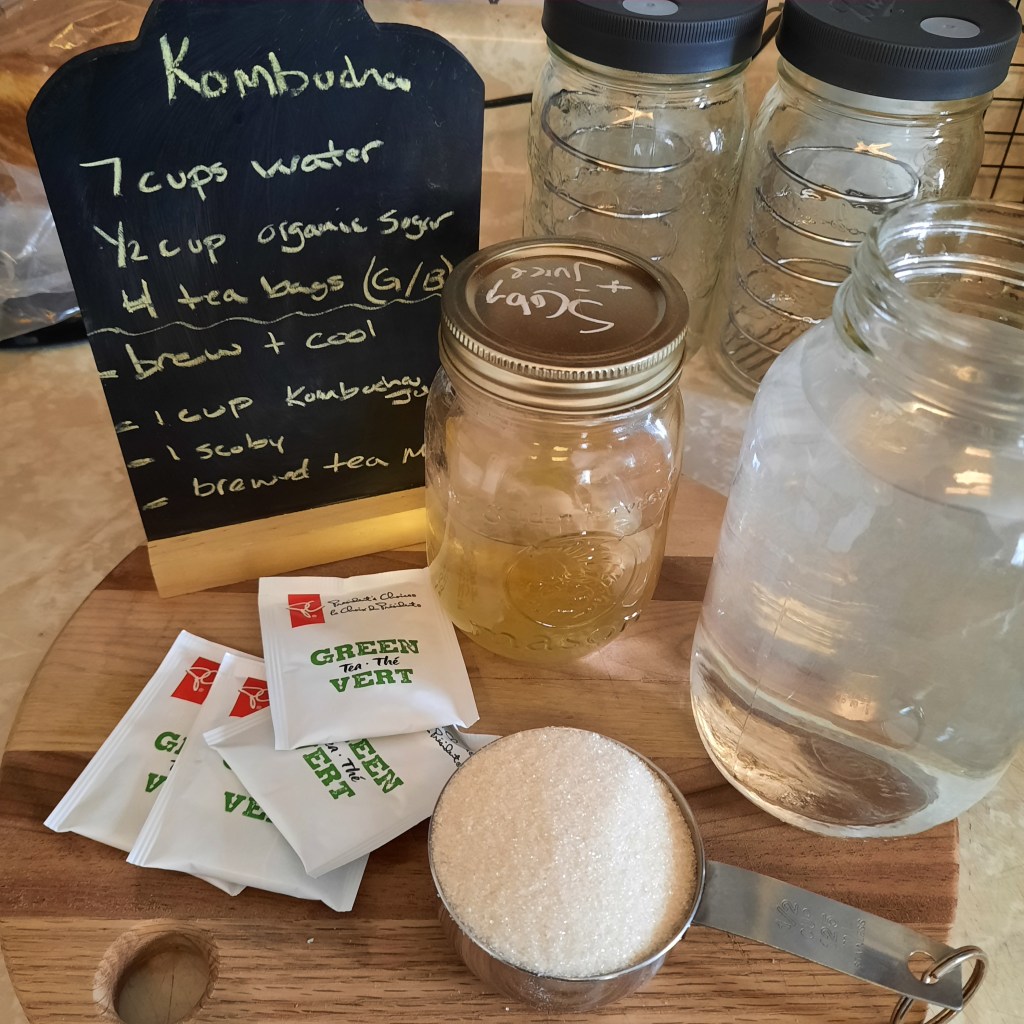

Of the two teas my all time favorite is green tea…. What I have been doing is mixing the completed kombucha with the left over juices from my canned peaches, plums and pears….. I also have some blueberry and grape juice canned so I will be trying those out shortly.

The second ferment of kombucha is always fun because you can use so many different things to make it interesting and stimulating. I think I am gonna can some extra hot peppers or freeze some for use coming this fall…..adding a little zing to an already crazy zinger…..
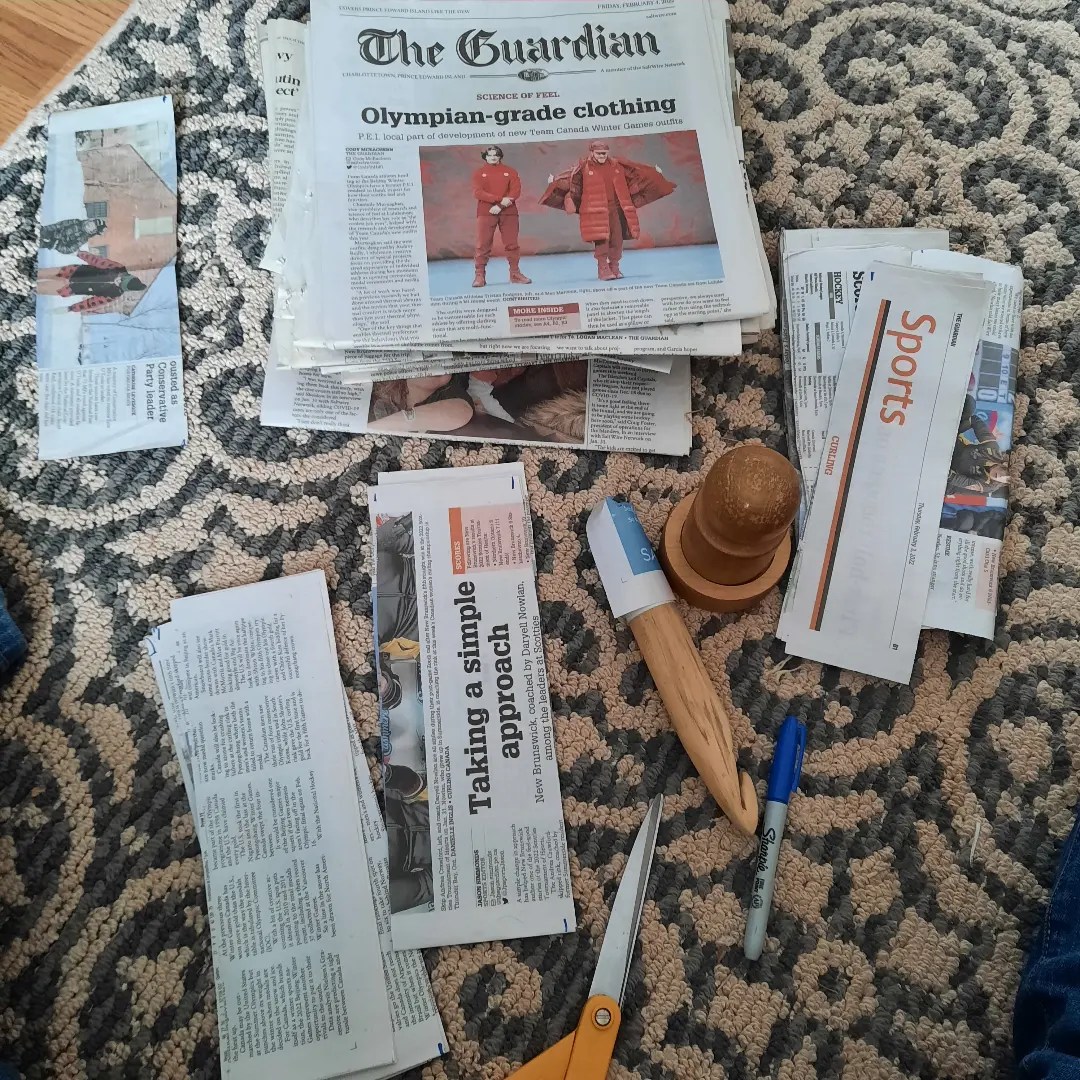
You can see in the picture with the kombucha instructions…… my jars that are ready for a batch of saurkraut…… that might be a post for tomorrow…..
Happy fermenting folks♡